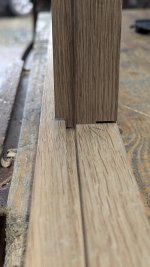
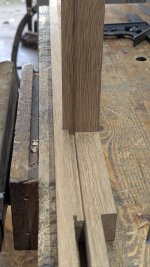
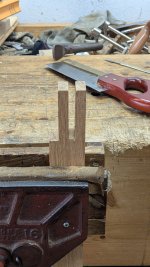
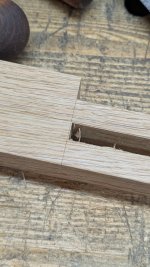
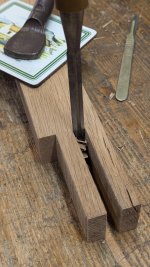
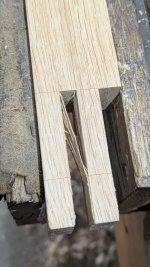
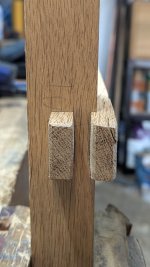
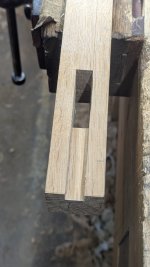
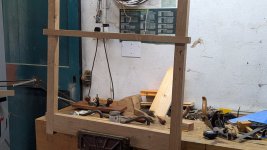
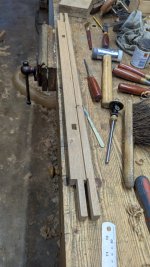
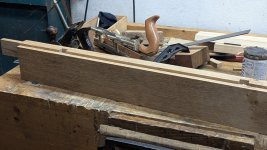
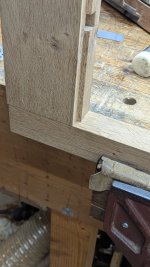
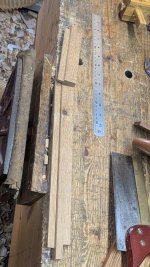
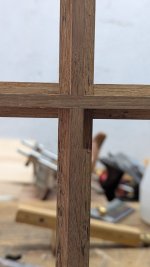
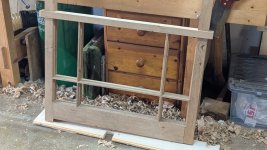
Some notes on glazing bars. These are for the lower sash, the left most one a horizontal and left complete for strength), the other 2 verticals and will each be cut in 2 eventually. All get a glazing rebate gauged into them. The horizontal has its mortices cut already. It's much easy to get the mortice sorted now as the mortise marks are there to work from. When the piece is rebated then it's a little more awkward but not impossible to deal with.

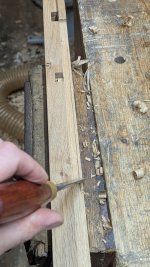
The verticals can be gauged on the inside face. These will all be stop chamfered so these marks are important. The horizontal has some pencil marks on only to act as a guide when chopping the mortices
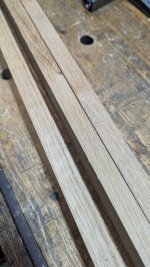
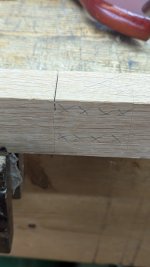
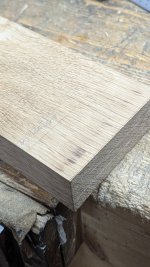
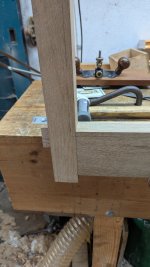
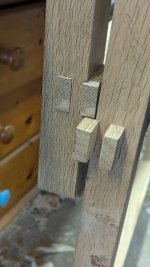
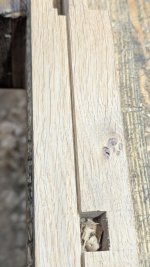
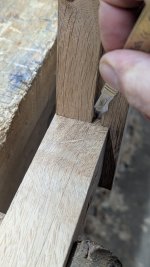
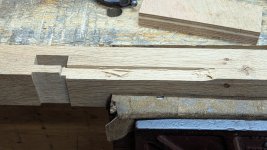
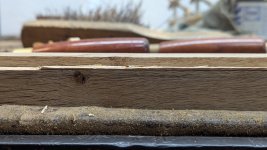
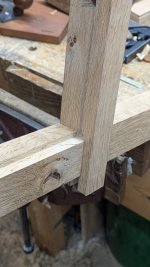
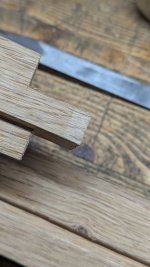
This shows a vertical bar the pencil mark will mostly disappear when the edge closest to the camera gets rebated for glass. I put the line in now as it's easy to do and a small portion will remain when it needs cut. Choose a saw that leaves a nice fat kerf for wiggle room: however this cut is made later. The gauge lines away from the camera form the small tenons that will fit into the top and bottom of the trough mortice in the horizontal bar. The corresponding side of the tenons at the rebate side has a shoulder that is closer to the pencil line. The resulting tenons in the these crossing bars are a minimum of under 1/8" long at the rebate side but this is still plenty to do their job.
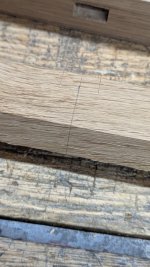
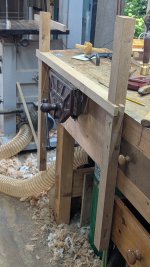
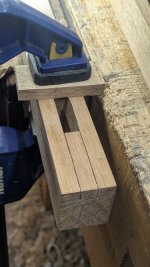
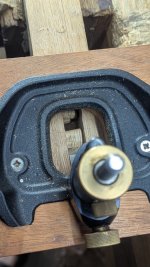
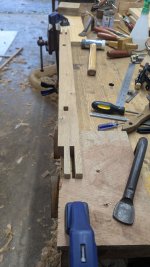
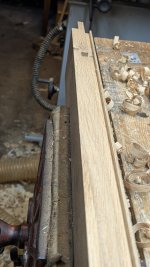
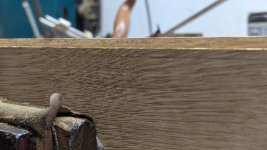
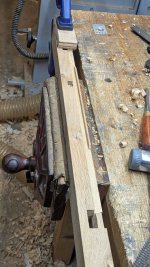
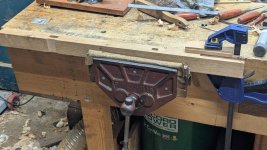
The bars are 3/4" thickness which is enough to hold between a couple of pieces of wood (I had thought perhaps I'd need a sticking board). Hold fasts are great also need teamed up with a clamp at either side. This is rock solid but still allows the piece to be lifted and set in without realising anything

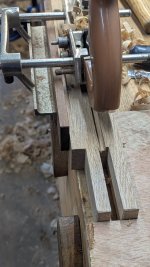
Plough a groove to start the rebate
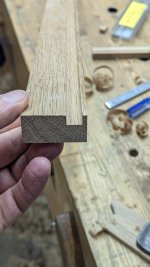
The little wall remaining allowa the piece to be flipped onto this face to do the same with the other side. Forming a complete rebate at this stage might mean the piece could tip on its side when the opposite face is being worked on. When both sides are done, this is formed

This can be placed back on the bench and the little wall mostly chiselled off or the piece can be carefully clamped in the vise taking care not to pressure the wall. When the little wall is removed then the piece can be better and more safely positioned in the vise
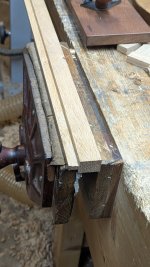
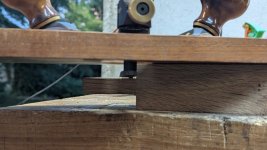
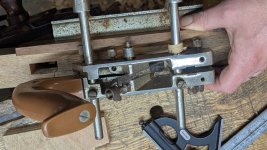
Finish with the router. Note the little pencil line mentioned earlier
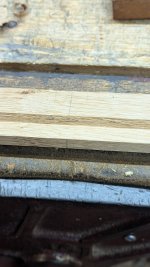
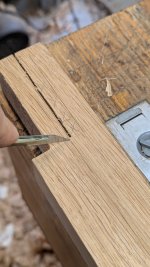
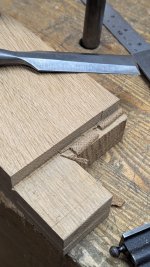
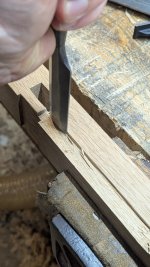
Cut in the shoulders on the room side to be chiselled to the gauge later
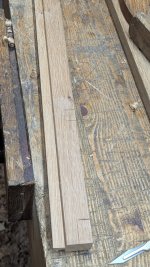
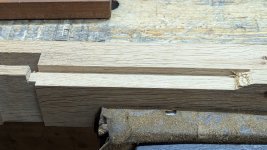
As mentioned the room side (right) has the tenon shoulder cut to the gauge. The rebate shoulder is deliberately cut long to allow a close-ish fit. That gap on the right is then just taken off the left side
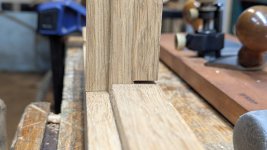
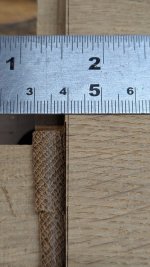
It is extremely important to make sure that the bar sits exactly square to its mating piece along the edge shown and in the adjacent plane as well, when taking this measurement

The ruler is held on the square so I can read the short marks that don't reach the edge of the square. In reality this is just a ballpark figure and I deliberately overshoot a tad as it's much easier to take a sliver of wood off than to put one back!

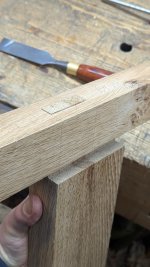
Transfer to the piece

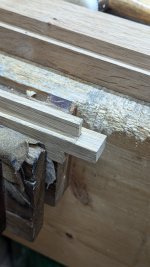
When fitting the bars and any piece the marks on the wood help locate paring that needs completed for a good fit. There will always be a side of the mortice and tenon that I don't touch at this stage. For example the squares formed by the vertical and horizontal bars have a 5" side: i.e. 5" from the stile. That measurement cannot be altered so if I have to widen the mortise a little to fit the tenon, I'll take the sliver away from the side furthest from that 5" gauge side of the mortise.
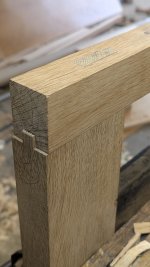
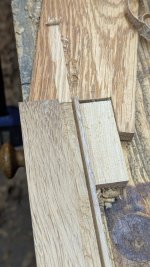
Here's a little unnecessary detail but I like this nonetheless. This is the underside of the meeting rail on the bench with a vertical bar (the sash would be upside down). These bars have the room and exterior sides of the tenon shoulders exactly the same. These can be cut across like a regular tenon. However, I think it's nice to cut a little notch to fit the groove. If the tenon was cut normally there would be a little gap in the groove but this would be of no consequence and filled with putty anyway.