
derekcohen
New Shoots
The first version of the Combo Moving Fillister Shoulder Plane worked but it was clunky and I decided to remake it from scratch. The new version is all the first should have been. I am very pleased with it and perhaps the details here will help others to build their own.
The aim was to combine two frequently used planes into a small package to include in the Fantasy Tool Box. These planes are used on every one of my furniture builds.
The moving fillister is used for rebates, both with- and across the grain. This is how one installs a backing on a cabinet, which is the project to be built on the coming course. Rebates are also part of dados and sliding dovetails.
A shoulder plane is not generally used for tenon shoulders, as the name suggests it should, but to fine tune rebates and square similar joints, such as dados.
Parts:

The body is 20mm wide, 150mm long and 53mm high including the brass sole. The bed is 45 degrees. The blade is 3mm thick M2 steel - easy to shape with an angle grind and belt sander. The blade is bevelled at 30 degrees, given a 5 degree relief angle on the face side.
Pictures of details:

The fence was a 30mm brass angle ...
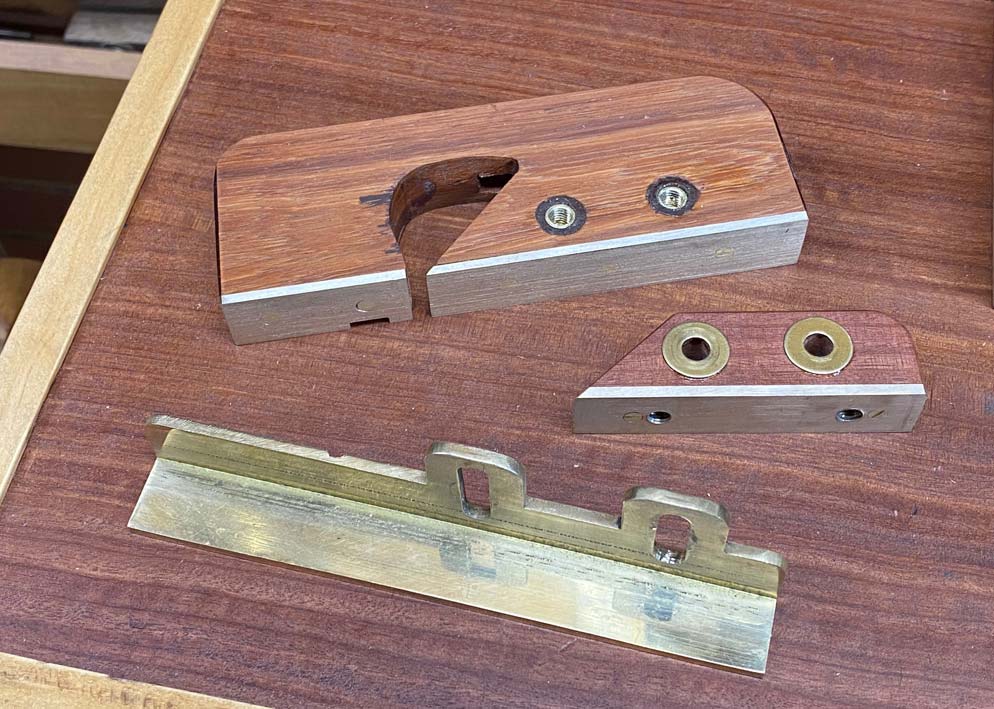
The nicker is 10mm wide x 3mm thick M2 steel ...

The depth stop also began life as 30mm brass angle. It has 600 grit wet-and-dry sandpaper on the rear as non-slip, and this is very effective at preventing any movement ...

Join the fence to the base ...

... and then bolt to the body ...

In use:
Beautifully square rebates ...


Clean rebates across the grain ...
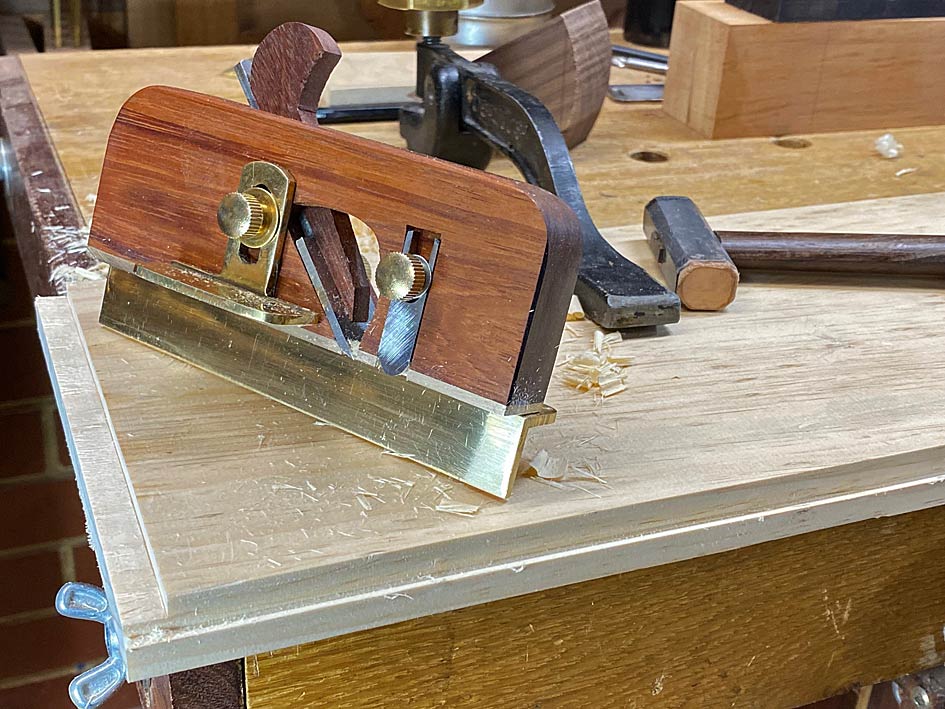
Tuning as a shoulder plane ...

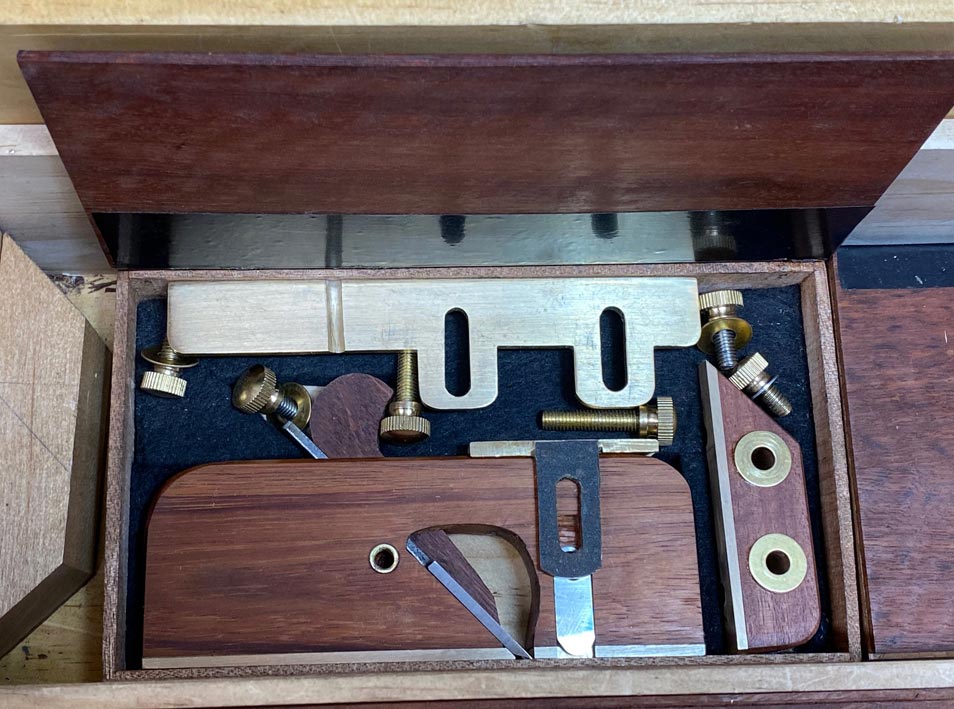
And packed up at the bottom of the tool box ...
Regards from Perth
Derek
The aim was to combine two frequently used planes into a small package to include in the Fantasy Tool Box. These planes are used on every one of my furniture builds.
The moving fillister is used for rebates, both with- and across the grain. This is how one installs a backing on a cabinet, which is the project to be built on the coming course. Rebates are also part of dados and sliding dovetails.
A shoulder plane is not generally used for tenon shoulders, as the name suggests it should, but to fine tune rebates and square similar joints, such as dados.
Parts:
The body is 20mm wide, 150mm long and 53mm high including the brass sole. The bed is 45 degrees. The blade is 3mm thick M2 steel - easy to shape with an angle grind and belt sander. The blade is bevelled at 30 degrees, given a 5 degree relief angle on the face side.
Pictures of details:
The fence was a 30mm brass angle ...
The nicker is 10mm wide x 3mm thick M2 steel ...
The depth stop also began life as 30mm brass angle. It has 600 grit wet-and-dry sandpaper on the rear as non-slip, and this is very effective at preventing any movement ...
Join the fence to the base ...
... and then bolt to the body ...
In use:
Beautifully square rebates ...
Clean rebates across the grain ...
Tuning as a shoulder plane ...
And packed up at the bottom of the tool box ...
Regards from Perth
Derek
