TomTrees
Sapling
- Joined
- Aug 19, 2014
- Messages
- 390
- Reaction score
- 107
Thought some might find my experiments of interest,
should one stumble across a "bargain".
I've been working on getting my machine running sweetly,
but have still had "fore and aft" issues, and to a smaller extent "flutter" issues.
Now it's not bad blades at fault, just to be clear I've had issues with plenty of types.
The wider 3/4" ones being noticeable, compared to narrow blades.
I've done plenty of stuff on my machine, of possible relevance which I might as well post,
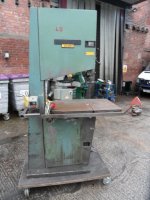
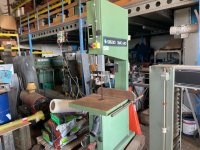
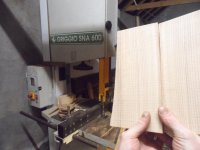
levelling the saw, a 600mm Italian machine, with flat tires, which I've dressed already.
Levelling worth mentioning, in regards to wheel depth and tire edge wear,
and the rest that comes with that.
same with adjustment for differing tire thickness, a third plumbline involved for
both.
(I leave the two permanently on the column, as the floor is damp and I only have
ply pads which get compressed with adjustment.)
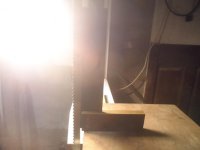
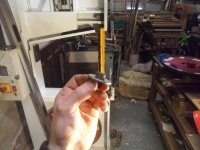
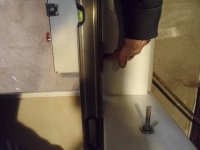
The plumblines have blocks to keep them steady, which could be taped on, as even opening the door is enough to upset plumblines for the next hour.



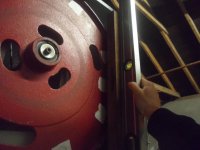
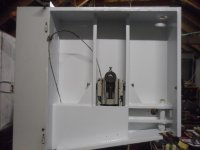
Wheel depth from chassis and lateral position of upper wheel carriage adjustment complete,
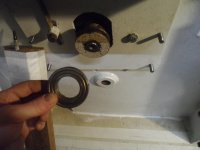
Here's a clear shot of the three adjustment bolts for that.

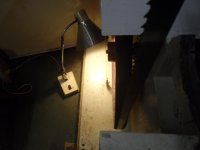
If tires not being in bad state, then onto the interesting bit, which I've gathered should be best done prior, and have documented that stuff in detail.
Wheel alignment, I've also covered to an extent, but which doesn't concern motor alignment.
I'm hoping this will be the fix for this machine, as everything else hasn't been all that noticeable really.
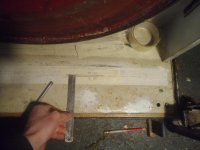
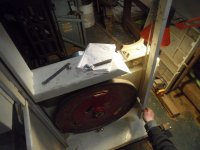
Might as well post a pic of the other work to move on to the interesting bit...
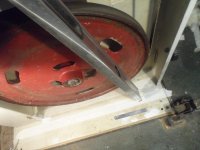
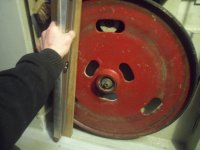
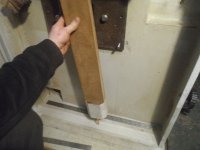
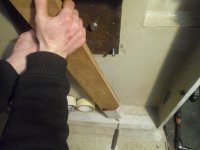
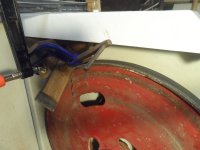
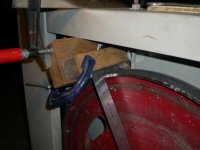
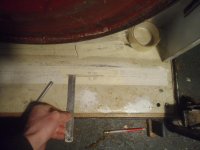
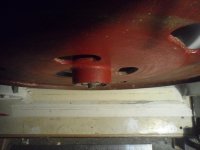
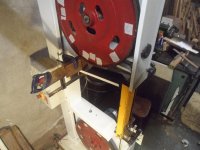
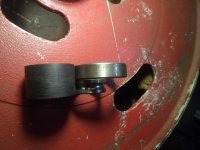
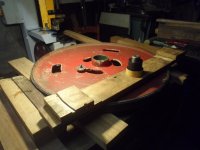
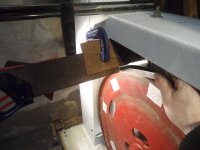
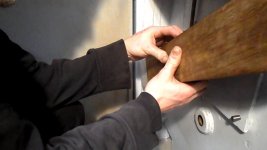
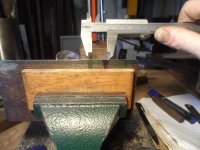
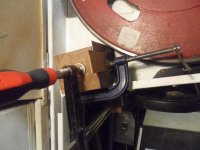
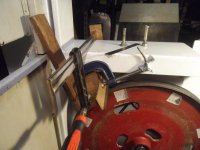
Rebated block to stop slippage, jammed against the lip of the chassis,
tape to stop paintwork damage, ply bit on the clamp head,
ply on the base if not so skookum of clamp used,
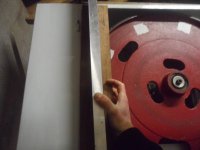
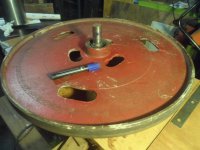
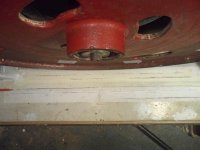
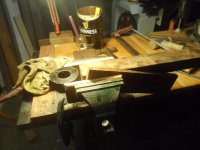
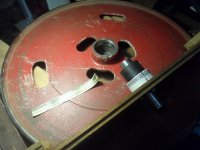
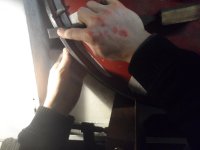
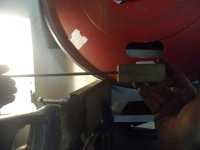
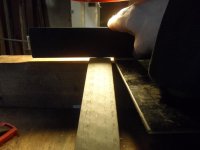
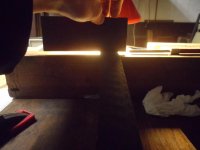
A parallel in width plane iron honed at 90, no burr, watch out when assembling your cap iron again as it will score the underside of it.
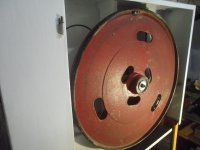
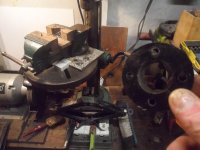
Wheels hand turned to scrape, that's about it for that.
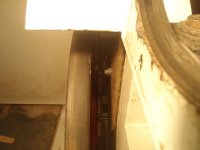
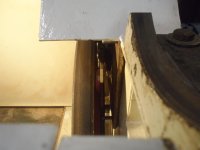
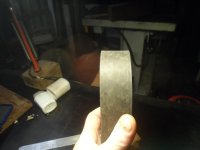
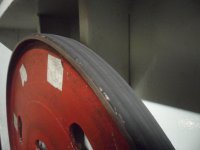
Tires being likely the first thing which is to blame, but turned out it wasn't that much of a difference between just about OK, and properly flat rubber without a hint of crowning,
well, at least not yet anyway.
(The edge profile being speculative and of interest)
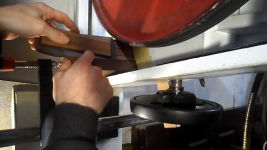
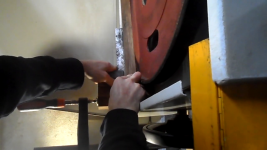
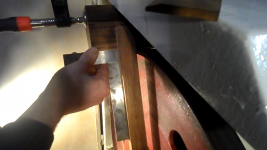
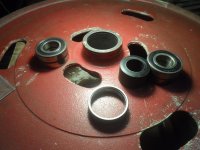
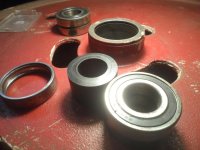
Bit of setting up the wheels, got things better and improved upon since
Which I'll get onto soon.
should one stumble across a "bargain".
I've been working on getting my machine running sweetly,
but have still had "fore and aft" issues, and to a smaller extent "flutter" issues.
Now it's not bad blades at fault, just to be clear I've had issues with plenty of types.
The wider 3/4" ones being noticeable, compared to narrow blades.
I've done plenty of stuff on my machine, of possible relevance which I might as well post,
levelling the saw, a 600mm Italian machine, with flat tires, which I've dressed already.
Levelling worth mentioning, in regards to wheel depth and tire edge wear,
and the rest that comes with that.
same with adjustment for differing tire thickness, a third plumbline involved for
both.
(I leave the two permanently on the column, as the floor is damp and I only have
ply pads which get compressed with adjustment.)
The plumblines have blocks to keep them steady, which could be taped on, as even opening the door is enough to upset plumblines for the next hour.
Wheel depth from chassis and lateral position of upper wheel carriage adjustment complete,
Here's a clear shot of the three adjustment bolts for that.
If tires not being in bad state, then onto the interesting bit, which I've gathered should be best done prior, and have documented that stuff in detail.
Wheel alignment, I've also covered to an extent, but which doesn't concern motor alignment.
I'm hoping this will be the fix for this machine, as everything else hasn't been all that noticeable really.
Might as well post a pic of the other work to move on to the interesting bit...
Rebated block to stop slippage, jammed against the lip of the chassis,
tape to stop paintwork damage, ply bit on the clamp head,
ply on the base if not so skookum of clamp used,
A parallel in width plane iron honed at 90, no burr, watch out when assembling your cap iron again as it will score the underside of it.
Wheels hand turned to scrape, that's about it for that.
Tires being likely the first thing which is to blame, but turned out it wasn't that much of a difference between just about OK, and properly flat rubber without a hint of crowning,
well, at least not yet anyway.
(The edge profile being speculative and of interest)
Bit of setting up the wheels, got things better and improved upon since
Which I'll get onto soon.