
-
Hi all and welcome to TheWoodHaven2 brought into the 21st Century, kicking and screaming! We all have Alasdair to thank for the vast bulk of the heavy lifting to get us here, no more so than me because he's taken away a huge burden of responsibility from my shoulders and brought us to this new shiny home, with all your previous content (hopefully) still intact! Please peruse and feed back. There is still plenty to do, like changing the colour scheme, adding the banner graphic, tweaking the odd setting here and there so I have added a new thread in the 'Technical Issues, Bugs and Feature Requests' forum for you to add any issues you find, any missing settings or just anything you'd like to see added/removed from the feature set that Xenforo offers. We will get to everything over the coming weeks so please be patient, but add anything at all to the thread I mention above and we promise to get to them over the next few days/weeks/months. In the meantime, please enjoy!
You are using an out of date browser. It may not display this or other websites correctly.
You should upgrade or use an alternative browser.
You should upgrade or use an alternative browser.
Staircase upgrade - ...
- Thread starter RogerS
- Start date


Resourceful as ever Rog. The end result will be worth all the aggro I am sure.

Rain stopped play outside. Back in the saddle and it's time for the volute.
This has been the design I’ve been following. Notice how there is a gentle upswing from volute to handrail…a concave surface. Also a very slight twist as you’d expect.

I don’t want a chunky newel post at the bottom but three spindles - same as those up the stairs.

But…as it stands…defines the height of the volute above the bottom tread.
Looking at pictures of how others have done the transition from handrail to volute, there is this one that I think is just plain ugly

and this one which is much more elegant IMO

They all share something in common. The concave shape - even where there is an easing.
My first (and pointless as it turned out) prototype was out of a block of polystyrene the same thickness as my board of ABW. Not anywhere near enough upswing for the handrail.

So then I glued up blocks of ABW but stupidly with no clear plan in mind

It wasn’t right either.
I was damned if I was going to struggle with another load of tangent drawings! I’d do this by eye.
So third attempt and which I now realise is also wrong. I need the ability to create that concave curve.

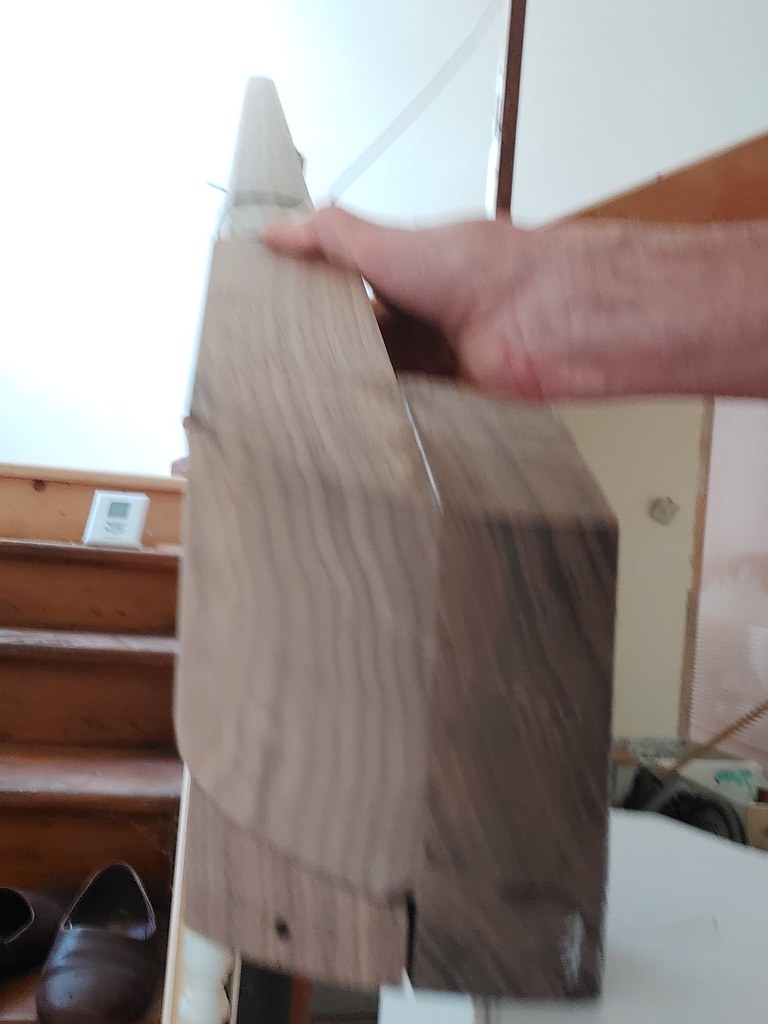
Thing is I now realise that, given the height of my spindles on the bottom step, the only transition shape is convex ie ugly. So the only thing for it is to raise the height of the spindles. But the height required also makes them look wrong.
So I’m in ‘ponder’ mode and all suggestions welcome.
This has been the design I’ve been following. Notice how there is a gentle upswing from volute to handrail…a concave surface. Also a very slight twist as you’d expect.
I don’t want a chunky newel post at the bottom but three spindles - same as those up the stairs.
But…as it stands…defines the height of the volute above the bottom tread.
Looking at pictures of how others have done the transition from handrail to volute, there is this one that I think is just plain ugly
and this one which is much more elegant IMO
They all share something in common. The concave shape - even where there is an easing.
My first (and pointless as it turned out) prototype was out of a block of polystyrene the same thickness as my board of ABW. Not anywhere near enough upswing for the handrail.
So then I glued up blocks of ABW but stupidly with no clear plan in mind
It wasn’t right either.
I was damned if I was going to struggle with another load of tangent drawings! I’d do this by eye.
So third attempt and which I now realise is also wrong. I need the ability to create that concave curve.
Thing is I now realise that, given the height of my spindles on the bottom step, the only transition shape is convex ie ugly. So the only thing for it is to raise the height of the spindles. But the height required also makes them look wrong.
So I’m in ‘ponder’ mode and all suggestions welcome.
I honestly think that raising the spindles by the relatively small amount required to give you the transition won’t look wrong mate.
If you suddenly raised the spindle height at the halfway point of the stair then it would look odd but I almost feel like it ‘needs’ to be higher on the ones for the volute for it to even work.
I think you’re over thinking this one mate.
If you suddenly raised the spindle height at the halfway point of the stair then it would look odd but I almost feel like it ‘needs’ to be higher on the ones for the volute for it to even work.
I think you’re over thinking this one mate.
I think this shape has legs

Malc..there would just be one newel post in the middle of the volute. Big gap between it and the first spindle, I think.
Mark, you're right. The 'must have' is a concave transition. The rest are 'nice-to-haves' and that includes spindle height.
Malc..there would just be one newel post in the middle of the volute. Big gap between it and the first spindle, I think.
Mark, you're right. The 'must have' is a concave transition. The rest are 'nice-to-haves' and that includes spindle height.
Roger
I would advise following these instructions: https://www.thisiscarpentry.com/2011/07 ... -a-volute/
I would advise following these instructions: https://www.thisiscarpentry.com/2011/07 ... -a-volute/
PAC1":ei1dlxlc said:Roger
I would advise following these instructions: https://www.thisiscarpentry.com/2011/07 ... -a-volute/
:text-bravo:
Thanks for reminding me of this site. I looked at it yonks ago and totally forgot about it.

AJB Temple
Sequoia
- Joined
- Apr 15, 2019
- Messages
- 7,819
- Reaction score
- 1,286
:text-goodpost: That link is really excellent. Top skills there.
This is bizarre. I could have sworn that I started watching a video on carving the volute. I distinctly remember watching him align the pattern to the grain for the spiral, of him lifting it away....
...but can I find it now ? Maybe I dreamt it.
...but can I find it now ? Maybe I dreamt it.
Either this is carpentry or https://www.youtube.com/watch?v=o_t3PtrcCUQ ?
Cabinetman
Sequoia
- Joined
- Oct 11, 2020
- Messages
- 5,760
- Reaction score
- 1,430
- Location
- Lincolnshire Wolds + Massachusetts
- Name
- Ian
That’s quite an involved process and at the end he says anybody else thinking of doing one of thesePAC1":2xvftgcm said:Roger
I would advise following these instructions: https://www.thisiscarpentry.com/2011/07 ... -a-volute/
" Don’t do it " and if you still want to, put your head in a bucket of iced water. So Roger the very best of luck!
I agree it is hard. The first one was the second hardest carving I have ever done. You may ask so what was the hardest carving. The answer is the opposite hand volute! I just find the process of doing everything the other way round, mentally harder than I thought it would be.Cabinetman":3btwu3o4 said:That’s quite an involved process and at the end he says anybody else thinking of doing one of thesePAC1":3btwu3o4 said:Roger
I would advise following these instructions: https://www.thisiscarpentry.com/2011/07 ... -a-volute/
" Don’t do it " and if you still want to, put your head in a bucket of iced water. So Roger the very best of luck!
Cabinetman
Sequoia
- Joined
- Oct 11, 2020
- Messages
- 5,760
- Reaction score
- 1,430
- Location
- Lincolnshire Wolds + Massachusetts
- Name
- Ian
Just happened to stumble across one of the vices used in that video, Ian


PAC1":bne3l6ot said:Either this is carpentry or https://www.youtube.com/watch?v=o_t3PtrcCUQ ?
Cracking links, thanks. I said I wouldn't but I did and drew up the tangent handrailing as detailed in those links. Transferred the spiral section to a polystyrene block

and cutting that out in itself was useful as it told me I needed a thinner blade in the bandsaw.
The wreath

Sticking them both together - starting to look promising

and offering it up in situ. Don't know about you guys but I think it 'works'


Spindles need lengthening a tad more than I'd like but I can live with that.
NickM
Old Oak
Probably not much help, but this is ours which I think has a similar style to the one you're after.
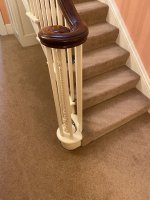
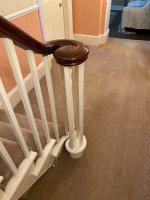
Looking good Roger.
Now when you make the jig for the circular work on the spindle it needs to be the strongest jig you ever made. It also want to be big so your hands are well clear. Mine is about 1m long and 600mm wide made from 3/4 ply and purpose made handles. There is a lot going on when you do this so go carefully. You might want a spare blank volute before you start. I also recommend a spare pair of pants!
Now when you make the jig for the circular work on the spindle it needs to be the strongest jig you ever made. It also want to be big so your hands are well clear. Mine is about 1m long and 600mm wide made from 3/4 ply and purpose made handles. There is a lot going on when you do this so go carefully. You might want a spare blank volute before you start. I also recommend a spare pair of pants!

Mike G":ps3dm5if said::lol: :lol: This torture looks like it is reaching a denoument. :lol: :lol:
Three months outside knocking the garden into shape will do that to a boy !
flying haggis
Sapling
- Joined
- Oct 1, 2019
- Messages
- 261
- Reaction score
- 2

As you are struggling with a bottom newel post decision, would this sort of thing look OK ??
Back in the saddle. After a lot of head-scratching because it's been such a long time since I had my head round this, I eventually drew up the face moulds for the upper wreath where the staircase transitions to the horizontal landing. It's the opposite way round to the volute wreath. Used a large block of polystyrene to make a dummy wreath to check it all worked out OK. It did !
So prepping my decreasing slab of American Black Walnut ...I can't afford any mistakes.

But I didn't When I reduced the thickness of the slab I sliced the wrong piece off and rather than the piece with sapwood....ho hum. Think I'll get away with it.
Face mould glued on using photo spray mount and bandsawed out. Ends marked up with the profile.

and another wee cockup

Mark up where the cutlines for the wreath are...

And start to extract the wreath

Using a gauge to get the size right
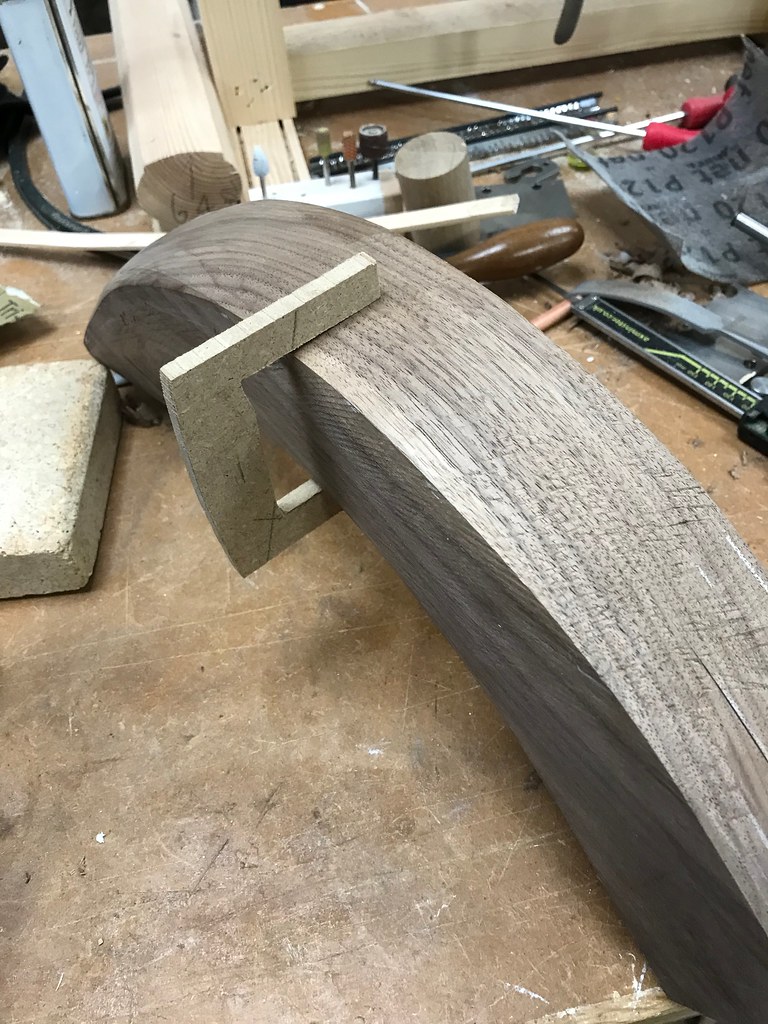
Still a long way to go
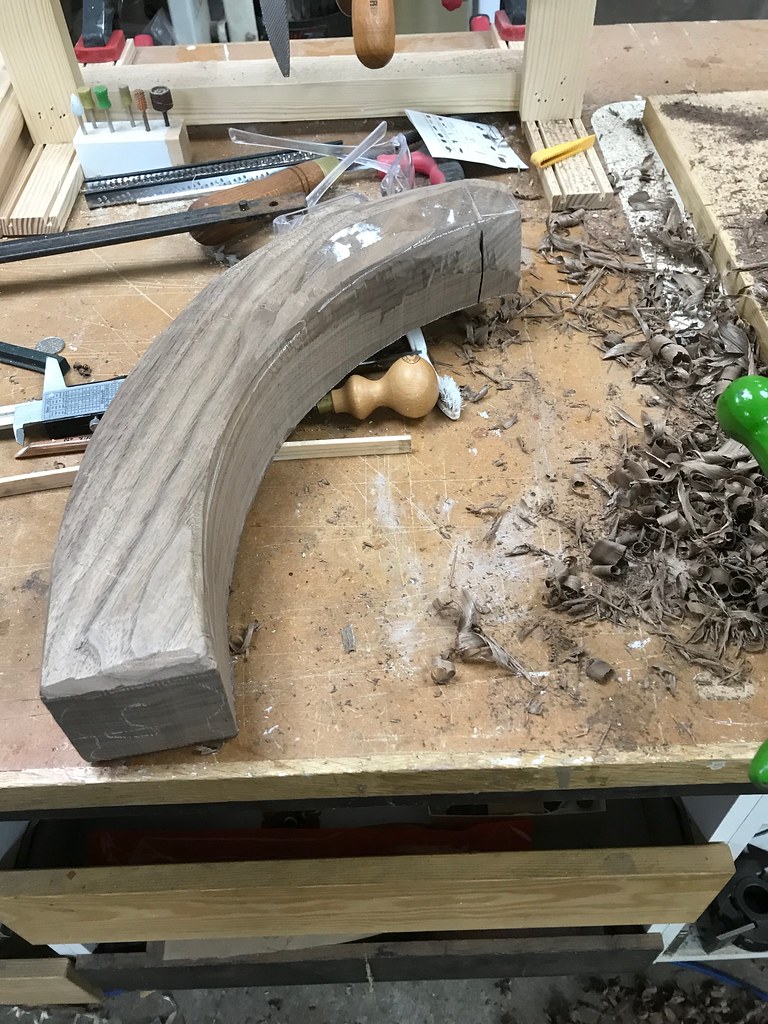
And as it's been such a long time, it took an age to get my eye back in, deciding on which rasps, files, gouges are the ones to use and where.

Different parts of the profile need different techniques plus some parts can't easily be done until another part is. For example, the top radius needs a reference 'edge' and the best tool for that is a Saburtooth in a handheld Proxon Dremel-lookalike. You have to make sure you don't take out too much or too quickly...think dentist drilling teeth.
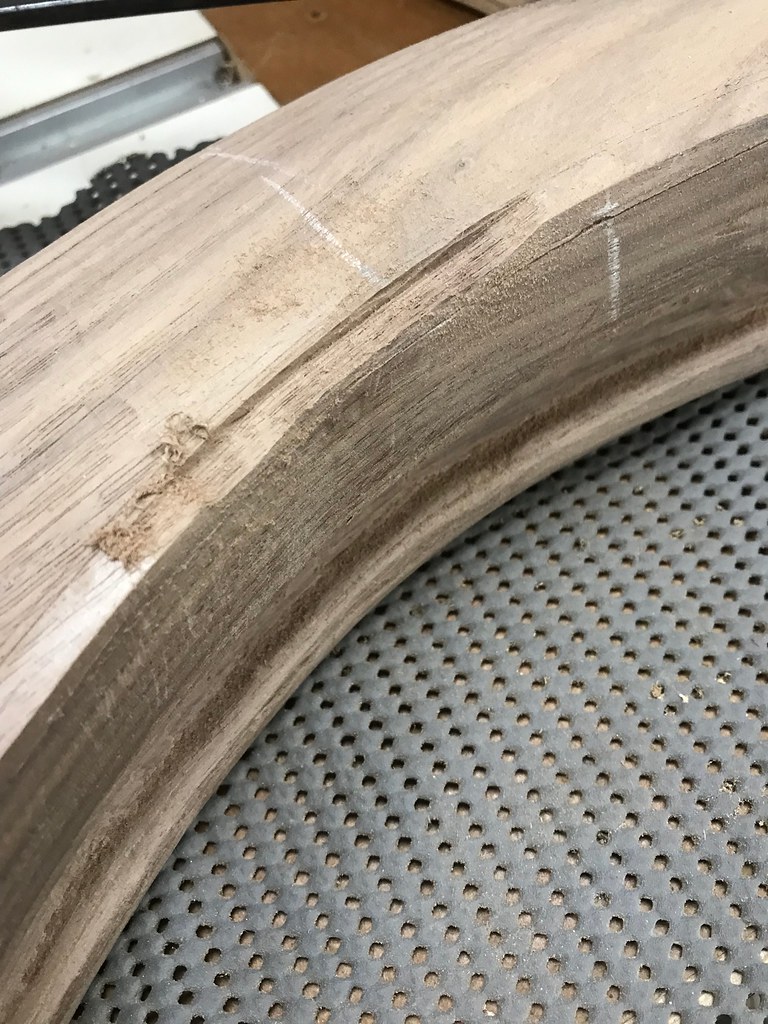
So today, it will be a bit of 'classical music to mould by' and quietly get on with it. Hopefully no interruptions to spoil the flow.
So prepping my decreasing slab of American Black Walnut ...I can't afford any mistakes.
But I didn't
When I reduced the thickness of the slab I sliced the wrong piece off and rather than the piece with sapwood....ho hum. Think I'll get away with it.Face mould glued on using photo spray mount and bandsawed out. Ends marked up with the profile.
and another wee cockup
Mark up where the cutlines for the wreath are...
And start to extract the wreath
Using a gauge to get the size right
Still a long way to go
And as it's been such a long time, it took an age to get my eye back in, deciding on which rasps, files, gouges are the ones to use and where.
Different parts of the profile need different techniques plus some parts can't easily be done until another part is. For example, the top radius needs a reference 'edge' and the best tool for that is a Saburtooth in a handheld Proxon Dremel-lookalike. You have to make sure you don't take out too much or too quickly...think dentist drilling teeth.
So today, it will be a bit of 'classical music to mould by' and quietly get on with it. Hopefully no interruptions to spoil the flow.
Way to go Roger. Nice and slow. Don't rush it and take plenty of breaks.Fingers crossed for you mate.
Mike G":1fh9w2go said:Nice to see some progress, Roger. What sort of white pencil have you got?
I nicked it from my wife's drawing set !

- Joined
- Jul 21, 2014
- Messages
- 10,414
- Reaction score
- 165
Mike I use Sewline 0.9mm white leads in a Pentel clutch pencil for marking dark woods. If that helpsMike G":1lu6fmmf said:Nice to see some progress, Roger. What sort of white pencil have you got?
Bob
AJB Temple
Sequoia
- Joined
- Apr 15, 2019
- Messages
- 7,819
- Reaction score
- 1,286
This looks increasingly daunting. Challenging job. Glad it's you not me!
AJB Temple":3kr3oxuw said:This looks increasingly daunting. Challenging job. Glad it's you not me!
LOL....nah, I'm on the home straight now.

Cabinetman
Sequoia
- Joined
- Oct 11, 2020
- Messages
- 5,760
- Reaction score
- 1,430
- Location
- Lincolnshire Wolds + Massachusetts
- Name
- Ian
Yes of course you are Roger, trouble is it’s a very long home straight at the end of a marathon.
Perseverance and patience, two essential requirements for a Woodworker I’ve always thought, well done.
Perseverance and patience, two essential requirements for a Woodworker I’ve always thought, well done.
Lurker
Old Oak
Malc2098":wm0d9amh said:Wow, Roger! I'm in awe!
Me too!
I wouldn’t dare nicking my wife’s drawing pencil!
Today set to with a vengeance. Had a :idea: moment and cut some slices of the moulded handrail and hot glued them at either end. Don't know why I didn't think of that for the first wreath.
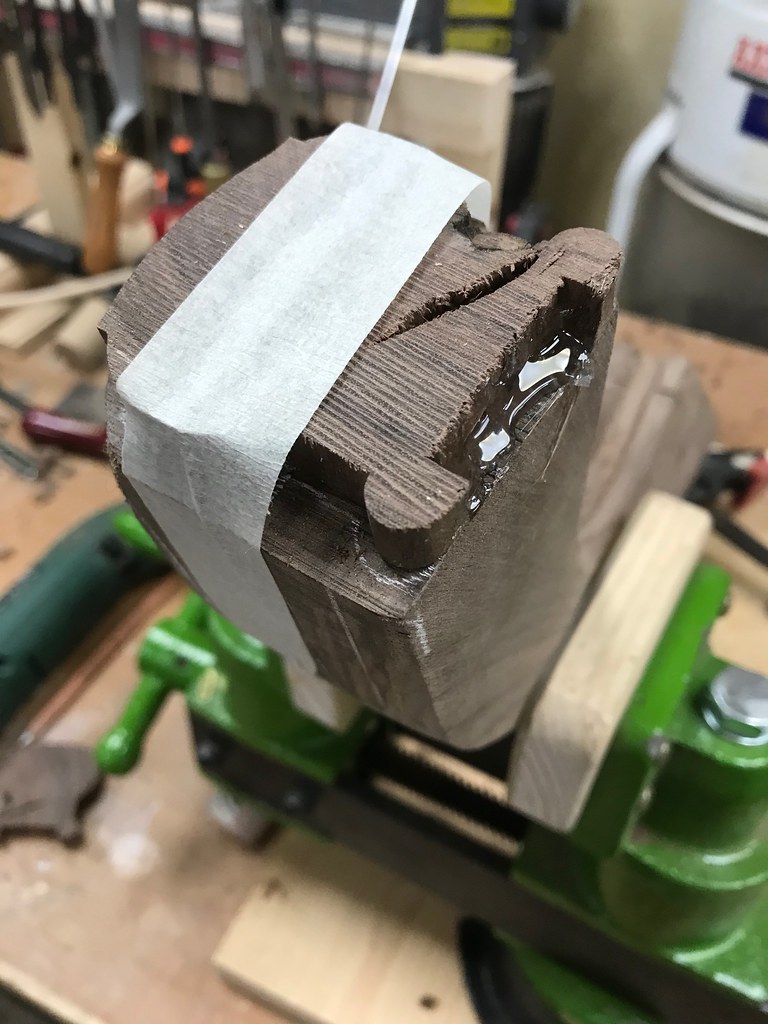
That gives my reference point to pare down to :eusa-dance: but then I thought what happens if that glue starts to move so I used a couple of Tongue-Tite screws. These are really excellent for this sort of job.

The added bonus, I just realised, is that I can drill into these while they are fixed to give me reference points for the joining bolts. The jig they supply isn't much use with a wreath due to the twist.
One side pretty much there bar final sanding. I can live with that erroneous saw cut.
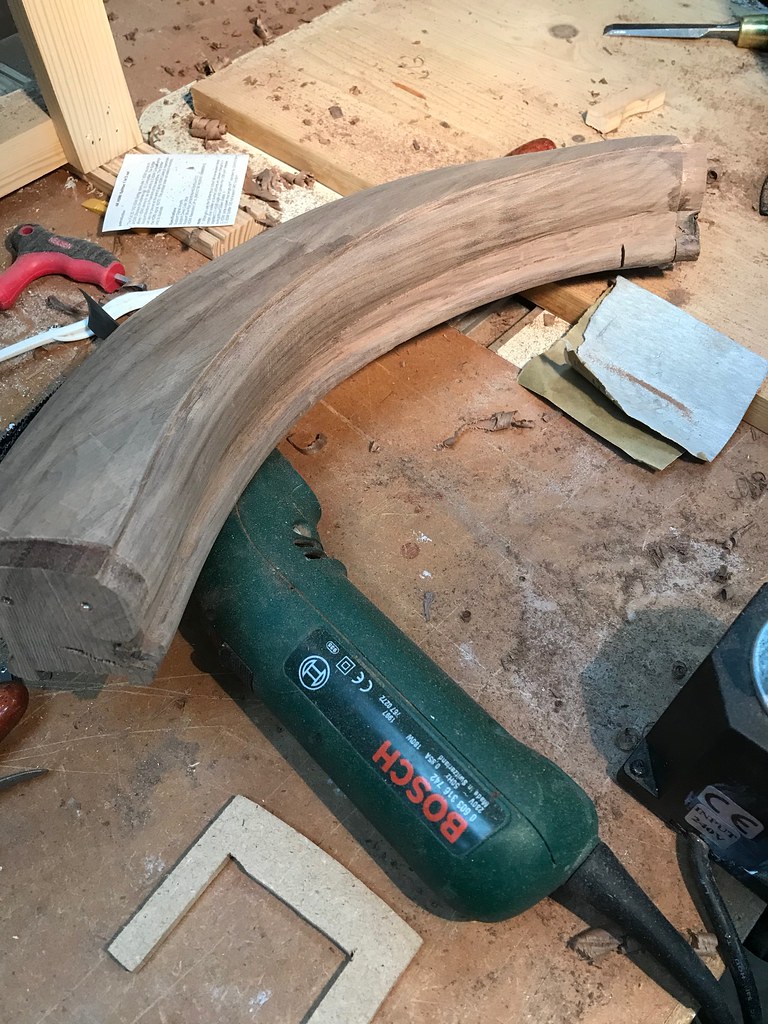
And just starting on the outside. This is after using the power Flexcut gouge in my 30 year old Bosch power chisel ! It's good at gently hogging out the first pass.
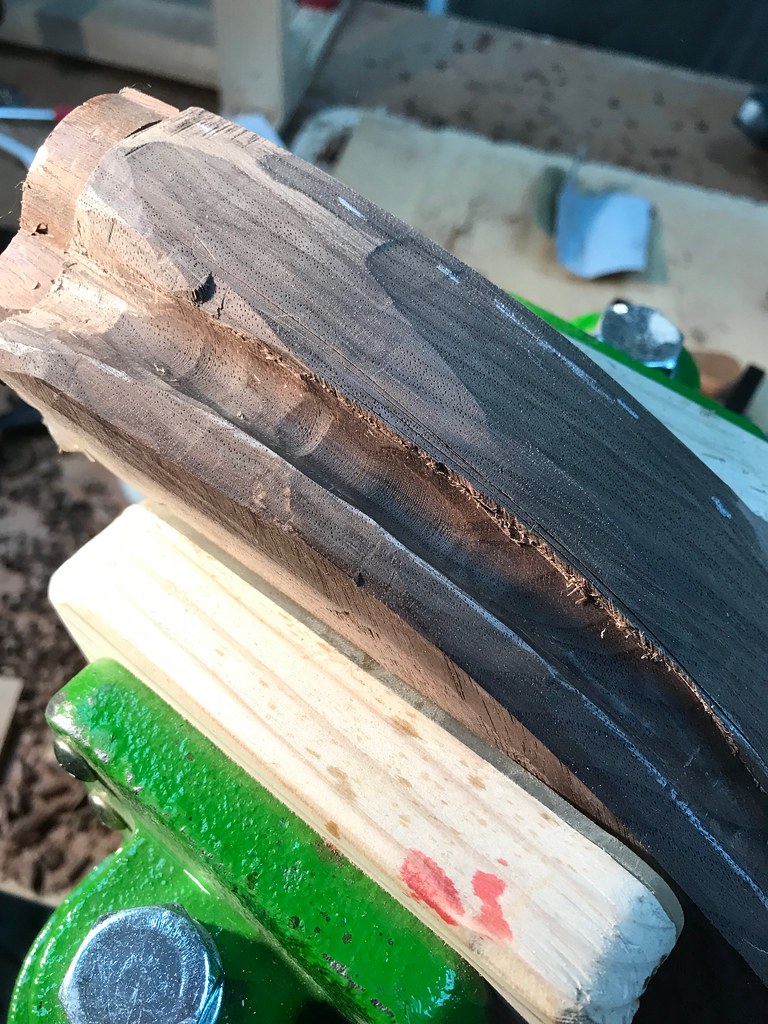
That gives my reference point to pare down to :eusa-dance: but then I thought what happens if that glue starts to move so I used a couple of Tongue-Tite screws. These are really excellent for this sort of job.
The added bonus, I just realised, is that I can drill into these while they are fixed to give me reference points for the joining bolts. The jig they supply isn't much use with a wreath due to the twist.
One side pretty much there bar final sanding. I can live with that erroneous saw cut.
And just starting on the outside. This is after using the power Flexcut gouge in my 30 year old Bosch power chisel ! It's good at gently hogging out the first pass.


Alasdair
Sapling
I've watched this without comment but feel that I have to take my hat off here for and doff it to you for the patience, perseverance and skill being shown.
:text-bravo:
:text-bravo:
Alasdair":x4wcknx5 said:I've watched this without comment but feel that I have to take my hat off here for and doff it to you for the patience, perseverance and skill being shown.
:text-bravo:
Much appreciated, Alasdair. Thank you.
Been a good day. Landing wreath all there - give or take. Needs a final sand once installed. Lucky ABW is so soft

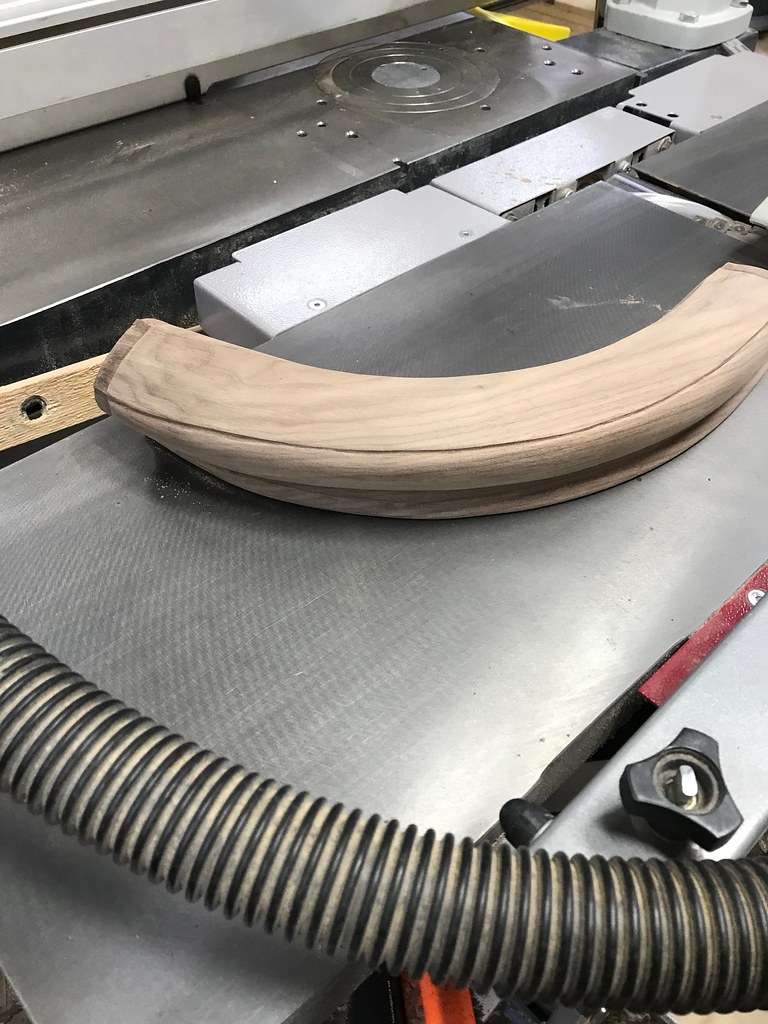
And completed the machining on the volute....
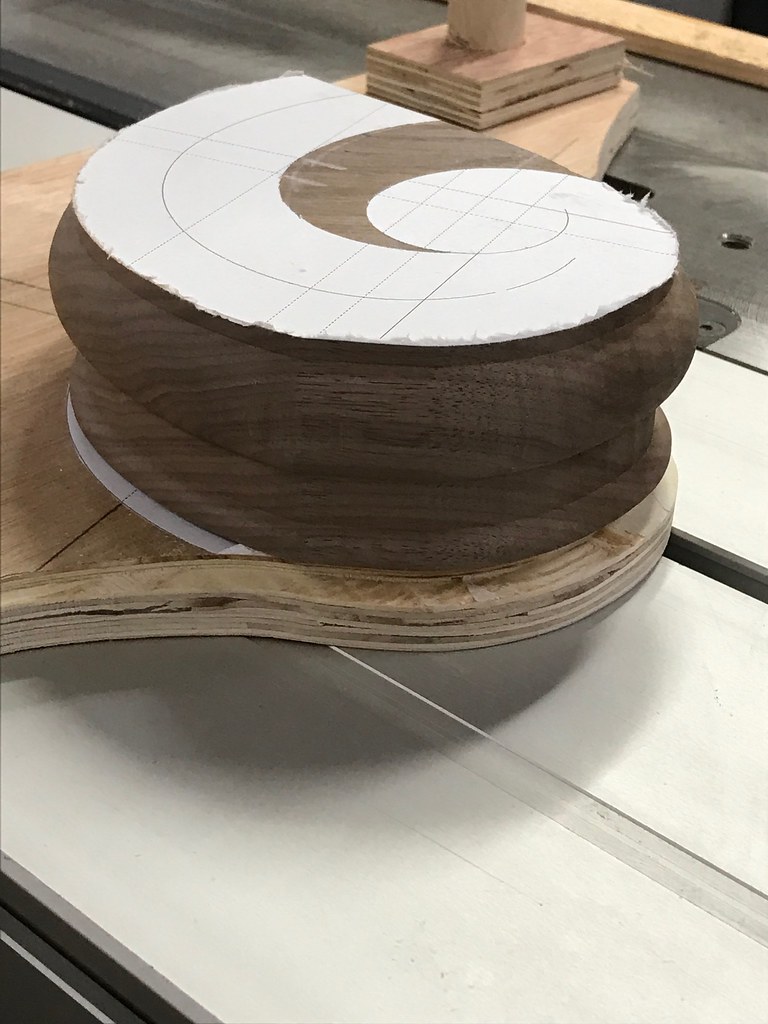
And to put the above in context, those of a nervous disposition should look away now
http://www.thewoodhaven2.co.uk/viewtopi ... =23&t=6477
Tomorrow is making that 90 degree turn...
And completed the machining on the volute....
And to put the above in context, those of a nervous disposition should look away now
http://www.thewoodhaven2.co.uk/viewtopi ... =23&t=6477
Tomorrow is making that 90 degree turn...
NickM
Old Oak
Excellent!