

Timmers
Seedling
Iv decided to document my build for anyone that is interested.
photos are better than words I guess so here we go.
The lawn witch i hate mowing so win win
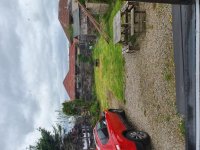
concrete base power floated for a smooth finish, old timber sheds removed, fence fixed. the steelwork on pallets ready to go
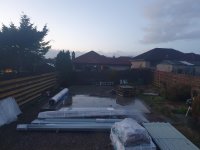
erecting of the steel for on a very very wet day
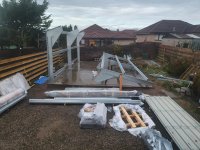
trusses and purlins up

at this point the the neighbours complained to the council. witch is fair enough because it is on the large side. I had gone to the council for planning before the build and they were happy that it was a permitted development so no planning needed. I still filled out the planning forms and they kept every thing on file so there would be no issue once I started the work. I have to admit the council were grate through the whole process, someone came round and measured up to make sure that I had stuck to the plans that I had sent them, they confirmed that i had and informed me that they would deal with he complaint and I shouldent here anything more.

at this stage I was going to move in and start enjoying my new workshop, but decided to spend a little extra money on framing, insulation, electrical outlets and lighting. I think its one of those decisions that later on when its snowing out side and I'm nice and warm in the workshop, it would be worth the money rather than not do it and always regret it.
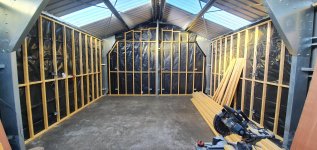
braking the workshop into sections, front and back to make it easier. electrics ran and insulation in. the insulation is also acoustic sound proofing to help with the noise of power tools not sure its needed but no half measures I guess
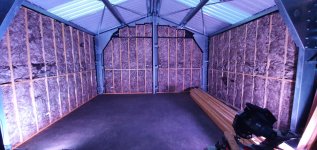
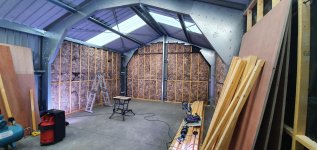
starting to board the walls was going to use plasterboard as its a hell of a lot cheaper, but this is a no half measures build so went for 12mm finish ply. taking my time as i dont want gaps between the boards chamfering the edges as I go.
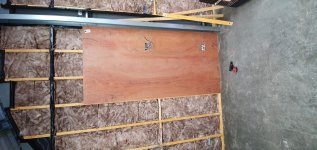
made a track for my saw so i could get the finish i was wanting, no gaps between the boards on the wall.
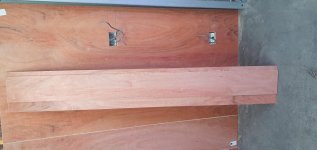
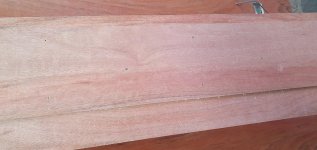
its handy as the left and right guides on the saw are the are different sizes so i made each side of the track to suit each side of the saw to accommodate this so I doesn't matter witch way i push the saw to make the cut.
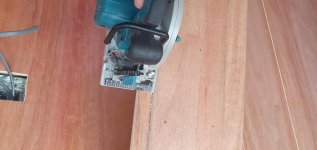
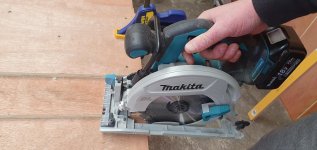
nice straight finish cut on a long board
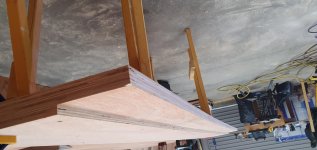
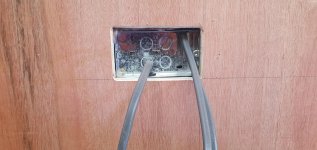
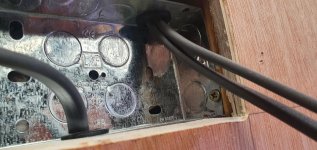
this is the stage I am at at the present
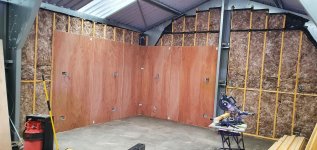
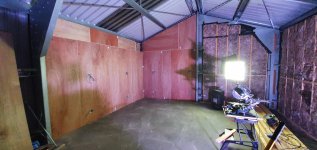
apology's that some of these photos are upside down and 90degrees I'm not sure how to change them.
photos are better than words I guess so here we go.
The lawn witch i hate mowing so win win
concrete base power floated for a smooth finish, old timber sheds removed, fence fixed. the steelwork on pallets ready to go
erecting of the steel for on a very very wet day
trusses and purlins up
at this point the the neighbours complained to the council. witch is fair enough because it is on the large side. I had gone to the council for planning before the build and they were happy that it was a permitted development so no planning needed. I still filled out the planning forms and they kept every thing on file so there would be no issue once I started the work. I have to admit the council were grate through the whole process, someone came round and measured up to make sure that I had stuck to the plans that I had sent them, they confirmed that i had and informed me that they would deal with he complaint and I shouldent here anything more.
at this stage I was going to move in and start enjoying my new workshop, but decided to spend a little extra money on framing, insulation, electrical outlets and lighting. I think its one of those decisions that later on when its snowing out side and I'm nice and warm in the workshop, it would be worth the money rather than not do it and always regret it.
braking the workshop into sections, front and back to make it easier. electrics ran and insulation in. the insulation is also acoustic sound proofing to help with the noise of power tools not sure its needed but no half measures I guess
starting to board the walls was going to use plasterboard as its a hell of a lot cheaper, but this is a no half measures build so went for 12mm finish ply. taking my time as i dont want gaps between the boards chamfering the edges as I go.
made a track for my saw so i could get the finish i was wanting, no gaps between the boards on the wall.
its handy as the left and right guides on the saw are the are different sizes so i made each side of the track to suit each side of the saw to accommodate this so I doesn't matter witch way i push the saw to make the cut.
nice straight finish cut on a long board
this is the stage I am at at the present
apology's that some of these photos are upside down and 90degrees I'm not sure how to change them.


