• Hi all and welcome to TheWoodHaven2 brought into the 21st Century, kicking and screaming! We all have Alasdair to thank for the vast bulk of the heavy lifting to get us here, no more so than me because he's taken away a huge burden of responsibility from my shoulders and brought us to this new shiny home, with all your previous content (hopefully) still intact! Please peruse and feed back. There is still plenty to do, like changing the colour scheme, adding the banner graphic, tweaking the odd setting here and there so I have added a new thread in the 'Technical Issues, Bugs and Feature Requests' forum for you to add any issues you find, any missing settings or just anything you'd like to see added/removed from the feature set that Xenforo offers. We will get to everything over the coming weeks so please be patient, but add anything at all to the thread I mention above and we promise to get to them over the next few days/weeks/months. In the meantime, please enjoy!

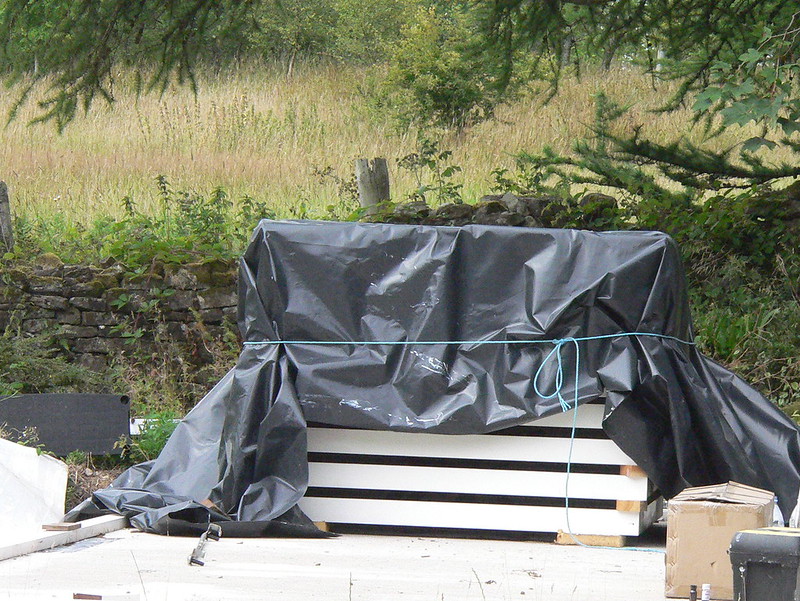
The Orangerie - duff glass-fibre-coating REPAIRED

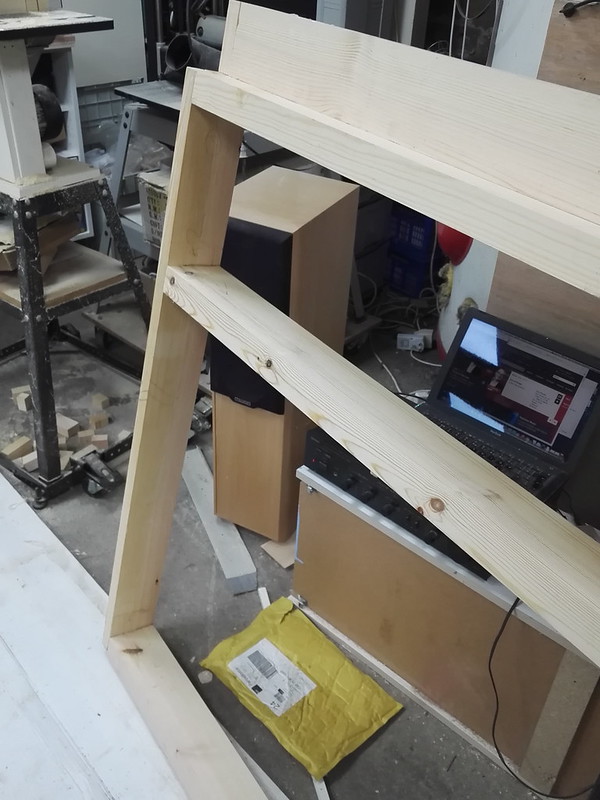
Need another rethink. I'd got to the point of deciding to make other main side frames like the one on the right.

new%20orangerie%20frame%20design.jpg
Then I had a reality check this afternoon when I realised that the length of the proposed rails is 3.4m and that meant that that sub-frame would weight 'a ton'. Totally unmanageable. I could possibly assemble onsite but I'm struggling to rip a 3.6m board down as the Hammer is not quite in the right place and after trying to budge it today, it aint going to happen. Perhaps I should have gone for that wheel kit after all :cry:

And assembling outside with our weather ? Then protecting it until I can get a coat of linseed paint on ?

So back to the drawing board.
 
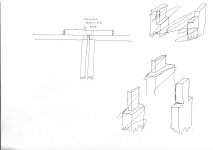
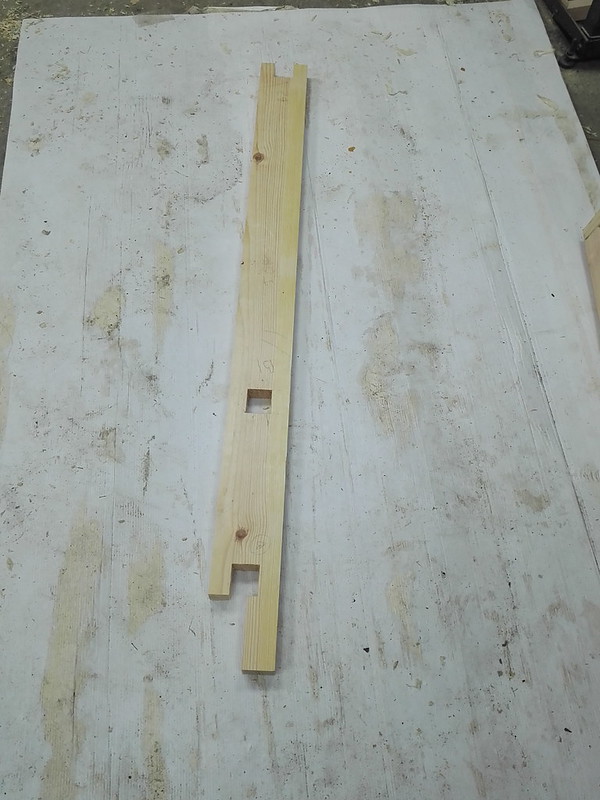
Think I've cracked it. Keep the same modular frame concept...mortice and tenon at the ends but open mortice...not sure what you'd call it.

Then overlay a second piece with a proper mortice that slides over the elongated tenons locking it all together and giving a lot of meat around the tenons.

revised tenon.jpg
 
Roger, that's the way to go... 8-)

When I worked in the joiner's shop during my apprenticeship, we made many bay window frames and the principle of through mortice & tenons without the haunch (open M&T) was the norm - frames only and not the sashes. They would either be pegged through the joint or screwed through to the tenon's shoulders - sometimes nailed using 4" wires. All the abutting jambs on either 3, 5+ part bays are exactly as you're proposing for your frames. The added ring beam with mortices to take the extended tenons from your frame's jambs would also be a great addition. You could also hammer in some wedges from the top like a normal haunch M&T joint.
 
Thanks, Pinch, for the reassurance that I'm going in the right direction.

I've ditched the structural engineer as this one (although extremely good and who advised on some detailing re the house) is also more at home with steel. His comment 'your columns might not be string enough' didn't inspire confidence especially as I came across this excellent calculator. It tells me that just one of my 4x4 columns in compression will support nearly 4 tonnes. I'm nowhere near that weight with my roof loading. Even with snow !

Yesterday was another day of prepping and my arms ached by the end of the day manhandling the timber.
 
So, after gnashing my teeth over Chinese rubbish in the morticer thread, I finally fettled the morticer into some semblance of a decent machine and so we're off to do some mortice and tenons.

Now, I'm not an expert and there are bound to be different and better ways of doing them but here goes. I started with the tenons. The key is getting them all the same and also the important bit is getting the length the same between the shoulders when there are tenons at both ends ..as we have in this case. So I start with a reference point which is to cut all the rails to the same length and ditto stiles. I'm using a story stick and that has a knife mark at the length of the rails and also the stiles.


I like using the Japanese marking knife as it gives a very thin but distinct line

These initial reference marks were made using a steel metre rule as I don't like using retracting tape measures as IMO they are not accurate. I transfer that reference mark over onto one of the rails and cut it square on the mitre saw.

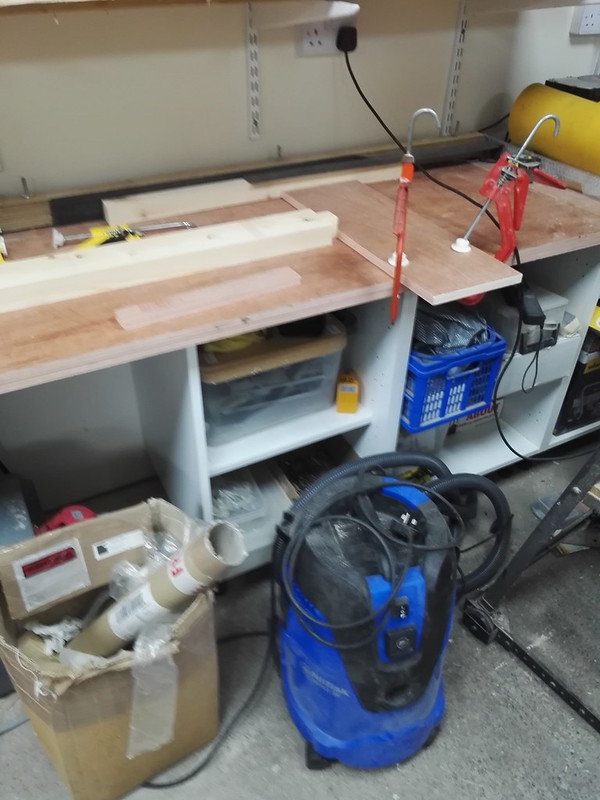
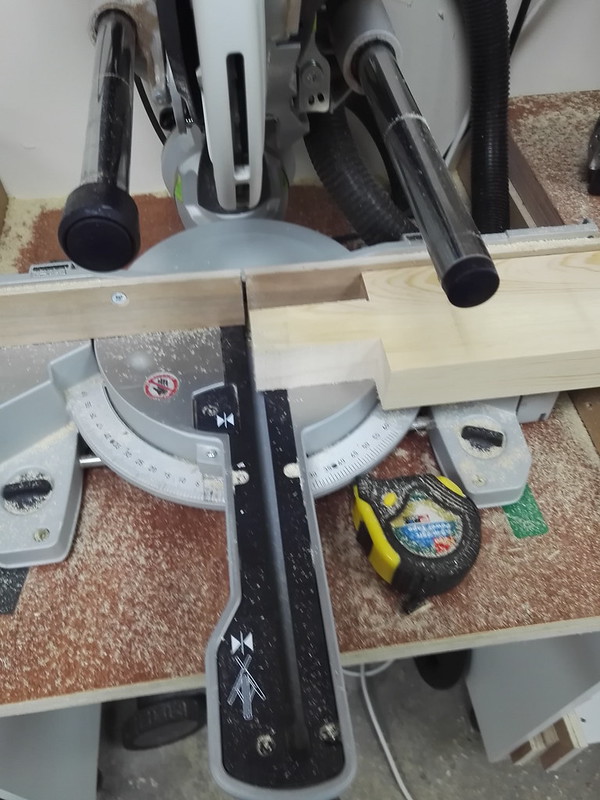
I'll then lock off a stop block on the bench


Then the remaining rails (or stiles) are tucked up to that stop and the excess length cut off...having made sure that the end against the stop has been cut square to begin with (DAMHIKT).

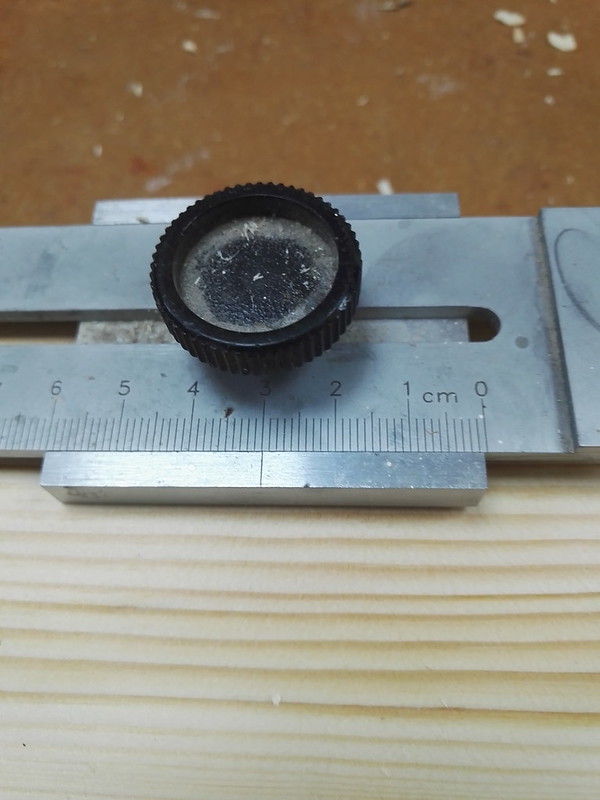
To get the shoulders marked I make a lot of use of these (I've mentioned them before)


This one is set at 30mm which is the tenon offset from the edges

and this one which is the length


and again I will use my marking knife to transfer these settings to the timber. I never bother to mark the entire length of the tenon as there is no point. Now I could repeat this action on all the rails (or stiles for that matter) but far quicker to put two rails together and cut the first shoulder.


remembering to adjust our reference point first so that the remaining rails can again simply be moved against the stop and the cut made.


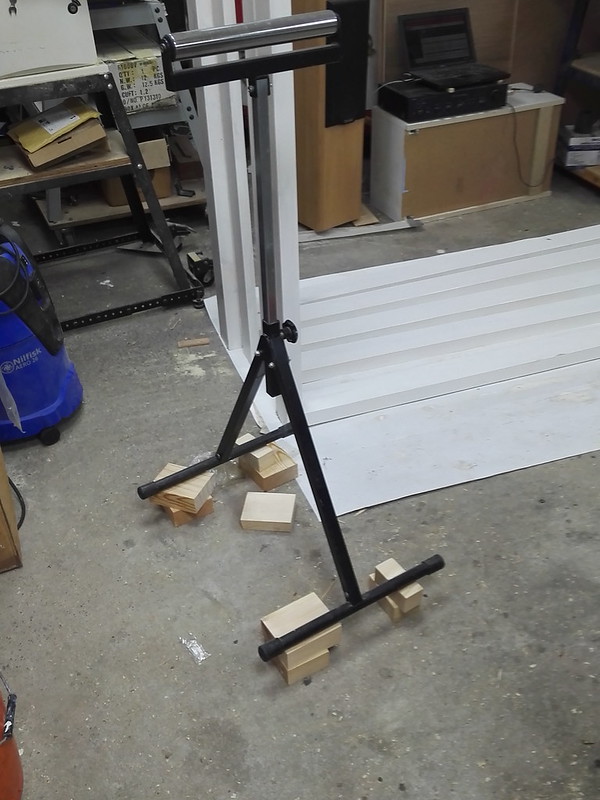
The actual tenons are cut on the bandsaw and this is the weakest link in the whole process as I have to rely on one of these horrible supports.


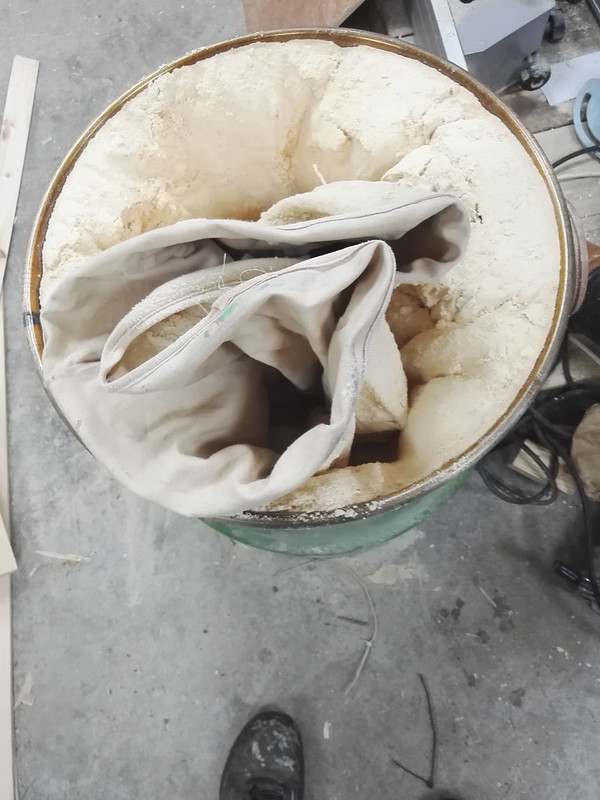
Oh yes, nearly forgot to mention that while ripping stuff on the table saw I sensed that the dust wasn't being collected as well as it had been. On inspection .....


Lucky I've got a handy skip :eusa-whistle:

I also replaced my fine sub-micron filter on the other chip collector as I'm embarrassed to say that the one fitted was very very old and way past being effective.

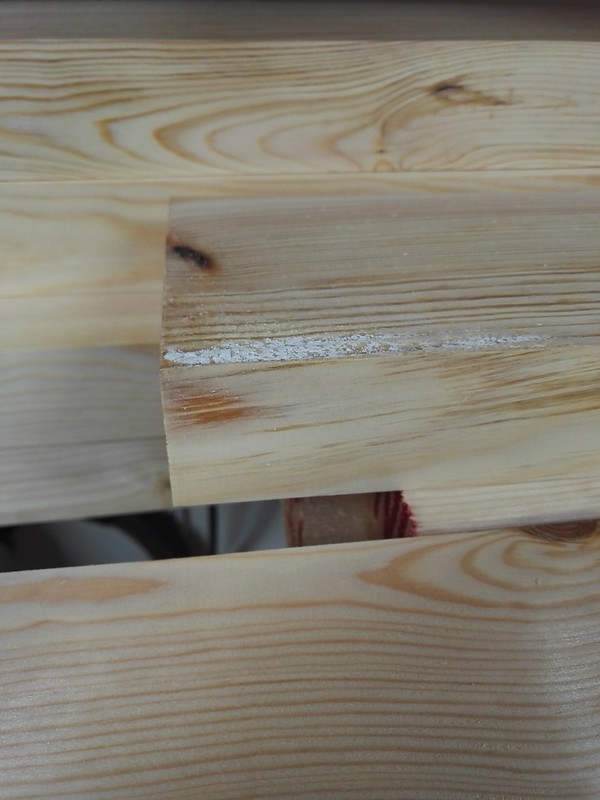
I mentioned in another thread in the Tips section that I don;t always plane or thickness right the way down but will be thinking of what is going to be cut off in the future and here is a case in point. This piece of timber was already 1mm under the target width.


1mm I can finesse into the design but if I'd carried on thicknessing it down to effectively remove all the chalk then it would be way too much undersized. But that bits being cut off. So I could stop thicknessing.

Next instalment ...morticing
 
I have just acquired a little used Axminster hobby mortiser from Gumtree and with the two small Ax chisels I've done some passable mortise test holes in old carcass stock. I took everything very slow and it seems to go alright.

I'd love to read your next instalment and get any tips for the job I want to use the machine for.
 
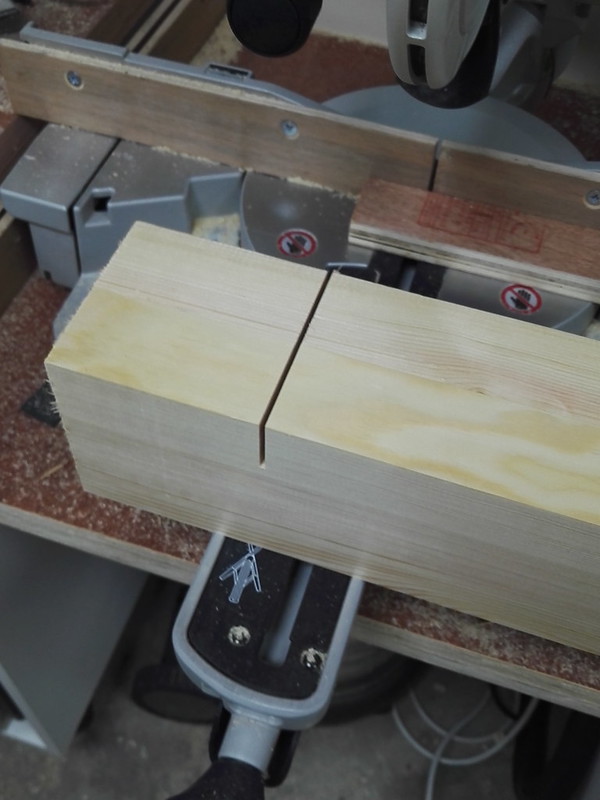
I guess using the mitre saw in trenching mode to cut the whole tenon is a tad awkward on such long lengths.
 
Andyp":rcctqou7 said:
I guess using the mitre saw in trenching mode to cut the whole tenon is a tad awkward on such long lengths.

Are you talking about using it to cut the long sides of the tenon ? If so there is a wee problem :) And not just the length of the timber ;)
 
Regarding tape measures,

I use them a lot in my day job so I only buy Class 1 tapes (Single I marked somewhere on the first 300mm), these are accurate to about ±1.1mm/10meters (±0.11mm/m)

Most tapes are class 2 (II marked somewhere on the first 300mm), these aren't as accurate as class 1 tapes but still better than the uncertified cheap tapes available.

However if you use the same tape for a whole project then any inaccuracies should be cancelled out, variations usually occur when different tapes are used. If you are using the scales marked on your machines then remember this and do a double check against your "Project Tape".

Also wherever possible I try to take measurements starting from the 100mm mark, this negates any possible inaccuracy arising from the hook slider not operating correctly. You just need to remember to add 100mm to the dimension you are looking for or you end up with a really accurately cut piece of timber that is exactly 100mm to short!

Will
 
will1983":222pye1m said:
....

Also wherever possible I try to take measurements starting from the 100mm mark, this negates any possible inaccuracy arising from the hook slider not operating correctly. ....

Will

It's what I've been doing but it's such a faff and negates the point of the hook slider. Interesting point re the different classes. I wasn't aware of that. Can you point us in the direction of good manufacturers ?
 
I once checked the position of a concrete bridge pier, the contractor had used the 1m trick but forgot to add the 1m back. A very expensive mistake,

I have a 1m steel rule as well as smaller ones but anything over that I use my Lufkin and Fisco tapes - I’ll have to check what grades they are.

For really, really big jobs I have a 100m Invar Steel tape! [emoji3]

Rod
 
RogerS":2vjxve1p said:
Andyp":2vjxve1p said:
I guess using the mitre saw in trenching mode to cut the whole tenon is a tad awkward on such long lengths.

Are you talking about using it to cut the long sides of the tenon ? If so there is a wee problem :) And not just the length of the timber ;)

By the tone of your response methinks I've asked another stupid question.
 
Andyp":1ztaphdp said:
RogerS":1ztaphdp said:
Andyp":1ztaphdp said:
I guess using the mitre saw in trenching mode to cut the whole tenon is a tad awkward on such long lengths.

Are you talking about using it to cut the long sides of the tenon ? If so there is a wee problem :) And not just the length of the timber ;)

By the tone of your response methinks I've asked another stupid question.

Questions are never stupid. If I understood you correctly then when the circular saw blade gets to the shoulder, it's not cutting in a straight line up and down. The same reason why you have to pad out the stock when you are trenching with the saw.
 
So what about these 'ere morticers. For anyone not familiar with them a quick guided tour. What do you look out for ?

A substantial support from which to hang the induction motor that powers the mortice chisel.
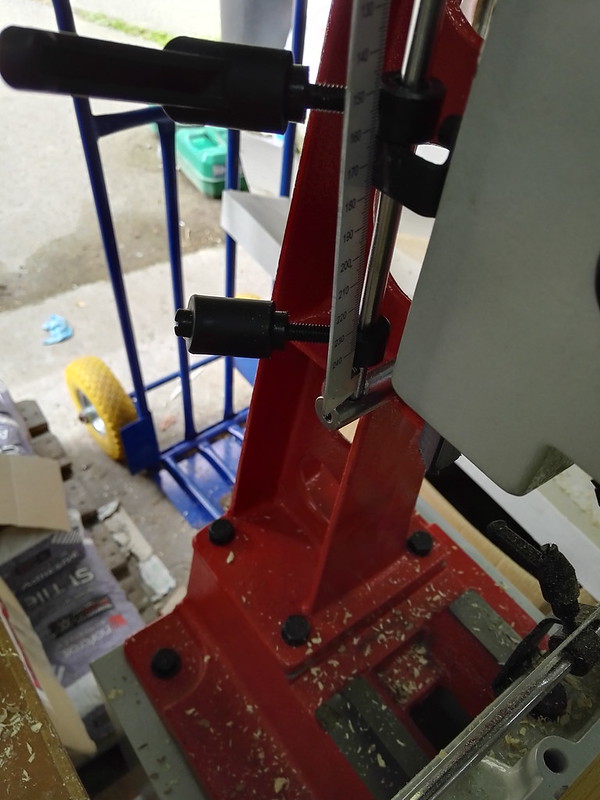


Ideally, as we have here, you get two stops that limit the depth to which you make the mortice and also another one that limits how far up does the chisel return. The latter being very useful as it saves you having to keep winding the chisel down through 'dead space'.

In an ideal world, you'll also have a couple of stops at the rear that limit the sideways movement - especially useful when chopping out large mortices that need several passes.
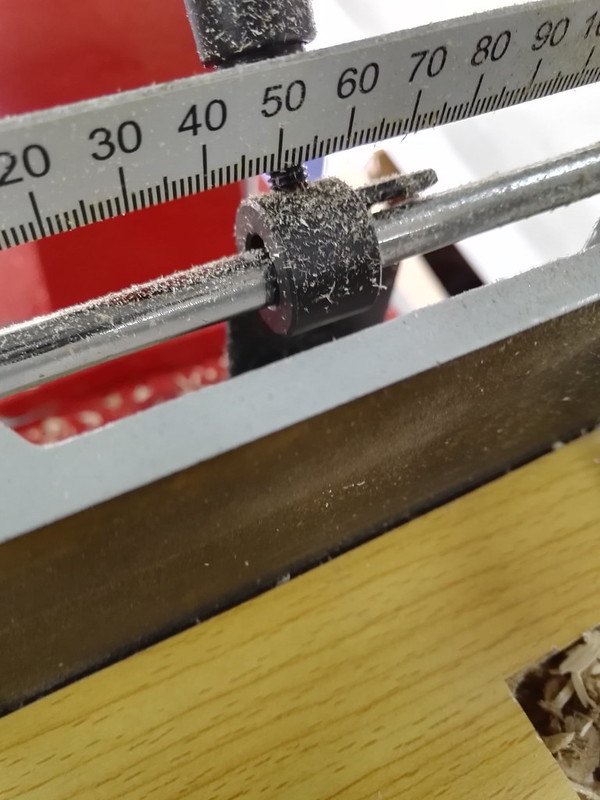
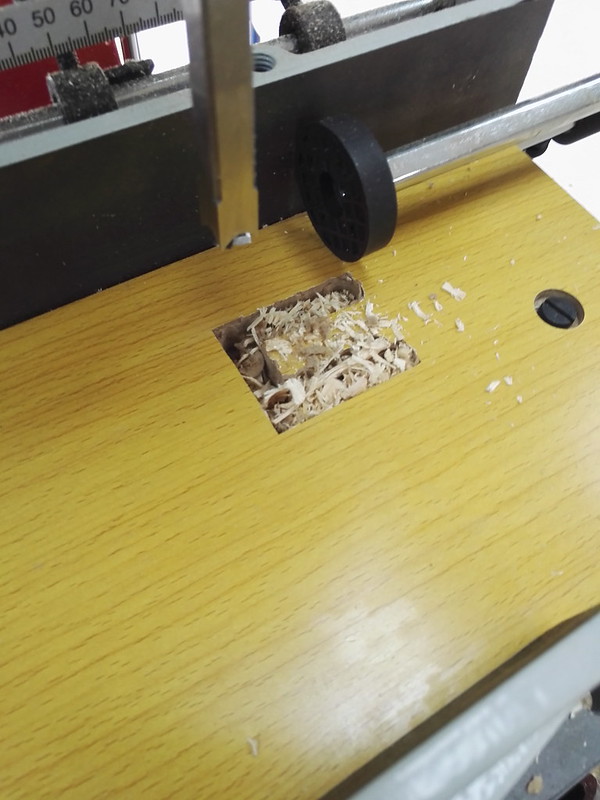


Also as you can see here a sacrificial piece...which saves you trying to drill into the cast iron table. I cocked up here and should have put a proper sacrificial piece on top of the smart bit that you can see in the photo and which came with the morticer. Trouble is that the table is higher than my assembly bench and when I made the extra support to go on top of the assembly table I forgot to factor in a sacrificial piece. There is a much more relevant reason for having a separate or disposable sacrifical piece. I'll let you work that one out for yourselves. Answer at the end ;)

What else ? A decent solid well-engineered table with a couple of decent sized handles for moving the table back and forth and sideways.
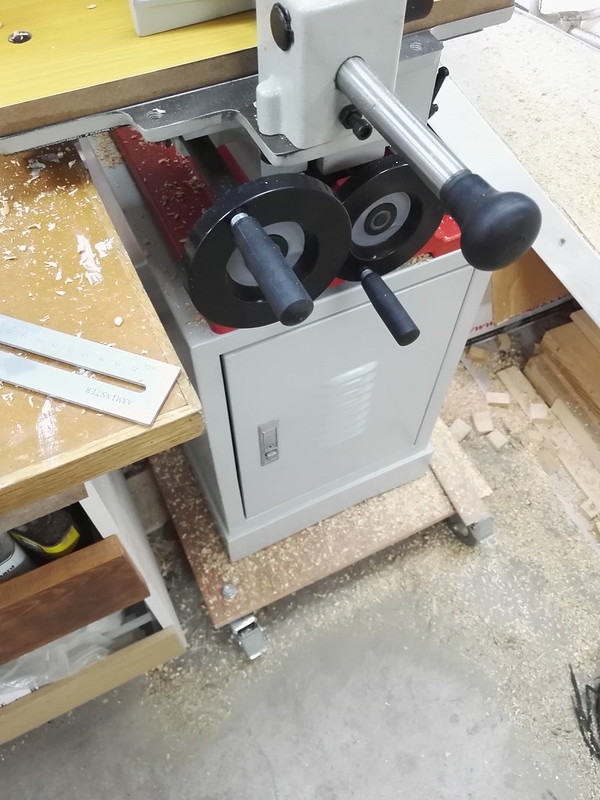
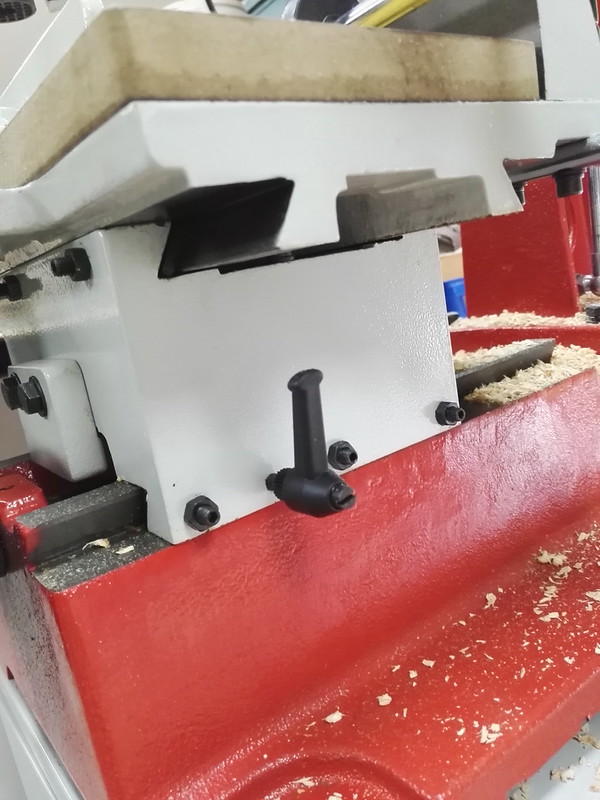
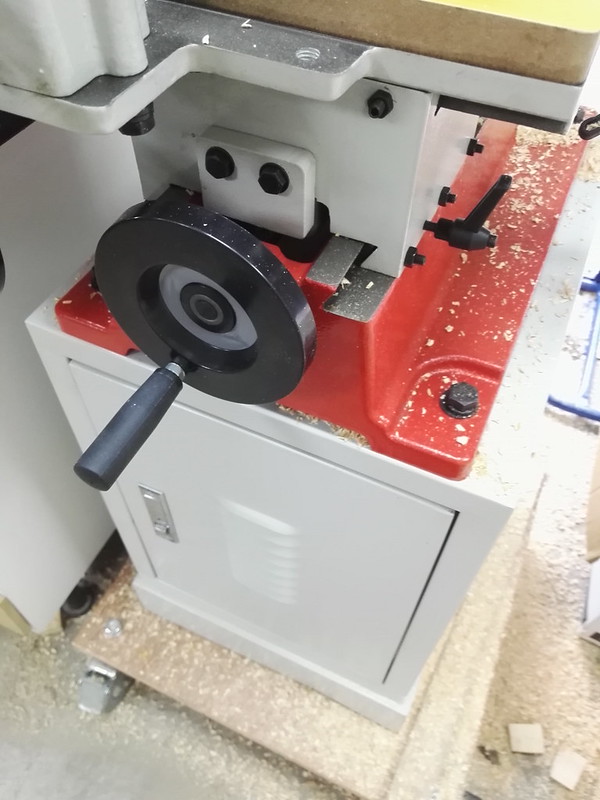


On the morticer that I sent back, the handle for back and forth was a horribly small knurled knob that was a struggle to use and it's location meant you kept bashing your knuckles on another part as you tried to turn it.

A decent sized clamp to hold the work


although it fails when morticing hardwood as I found out on the first morticer I ever bought. As you raised the chisel, it failed to release properly from the hardwood and so the hardwood was pulled upwards with the chisel because you're relying on a friction grip from that clamp. Especially noticeable on smaller machines that have a smaller clamp than this. As I type this I'm wondering if a sheet of abrasive glued to the face of the clamp would alleviate this problem.

Of course, on a larger morticer, such as this one, you have the solution provided with a hold-down
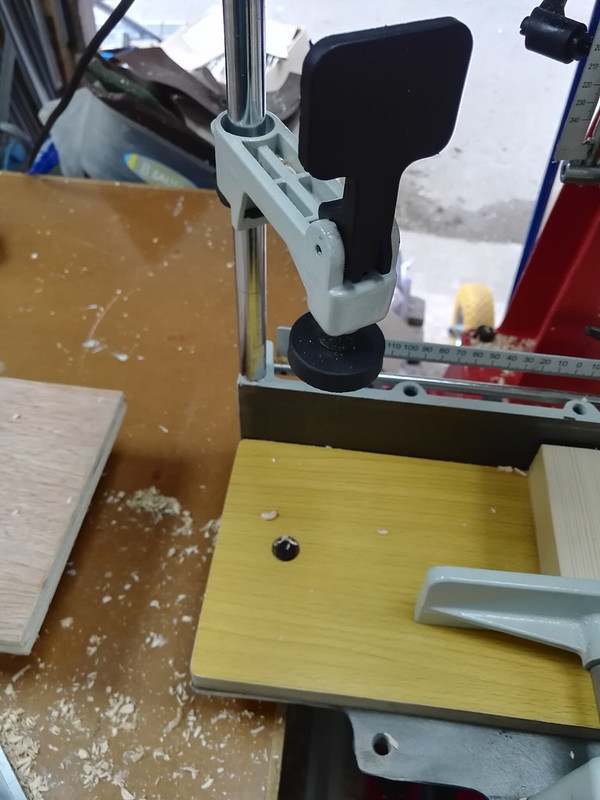


I made up an additional support to go on top of the assembly table to bring the stock up to the right level.
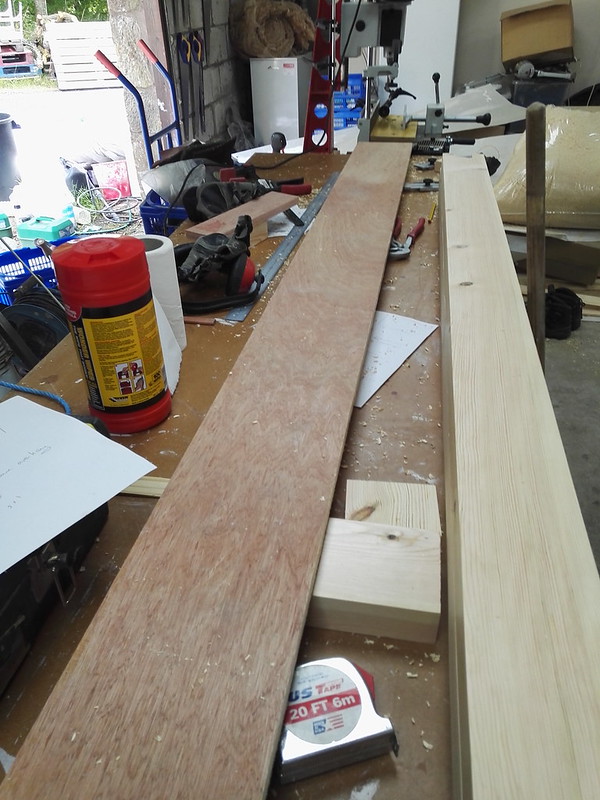


You want the chisel to move up and down perpendicular to the table. And if they supply a chisel like this with the machine then throw it away. Apart from being crudely made, bent ad with terrible edges, the shoulder that you reference to when fitting the chisel ...well, some muppet made it tapered, so part of it moves up inside the collar and so you are totally guessing where to set it. Hopeless. That shoulder should be square. I bought a very nice Harima Japanese pattern mortice chisel from Axminster. Nice.

So to work.

First mortice marked out using those Axminster gauges again and mortice cut. Such a long time since I made any mortices with a machine...actually such a long time since I made any mortices. Period. :oops:

And, as mentioned earlier, jolly good job that they supplied a sacrificial piece on top of the table as otherwise I'd have wrecked my lovely new mortice chisel.
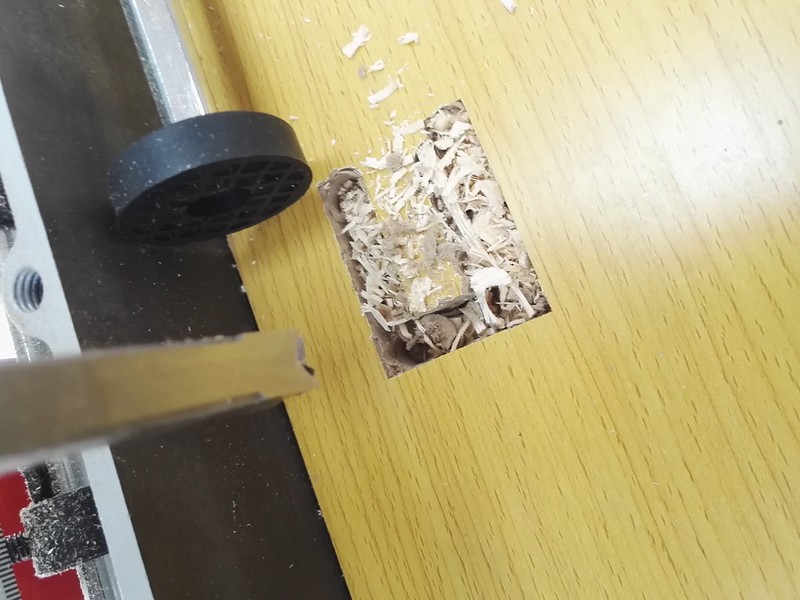


I asked earlier on why you needed a disposable sacrificial piece of wood. Well the reason is that besides stopping you from nadgering up the end of the chisel, it acts as a backing block to prevent breakout from the underside of the sock and although you'd think that if you were making the same cut each time that it would still work just fine, it doesn't simply because after the first mortice, there's a thumping great hole in it ad it only takes slight misalignment for breakout to occur.

So clever trick. If you're making multiple mortices the same in a number of pieces of stock then you could mark up each piece and then cut the mortice. Or :idea: you could put the next piece underneath the one you're working on so that (a) you have a new 'sacrificial' piece and (b) your chisel as it cuts into it is self-marking for the mortice cut that you're going to make in it. Like this...
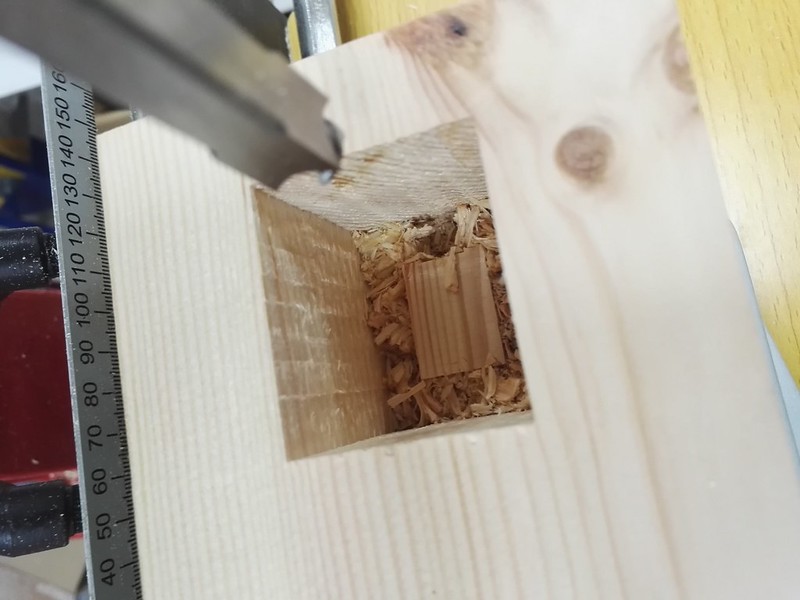


Good idea, eh ? Of course, you need to keep an eye on any errors that might drift in but that's easy enough to do. NB Only works if that chisel is perpendicular.

So let's have a look at the result. Looks pretty square to me.
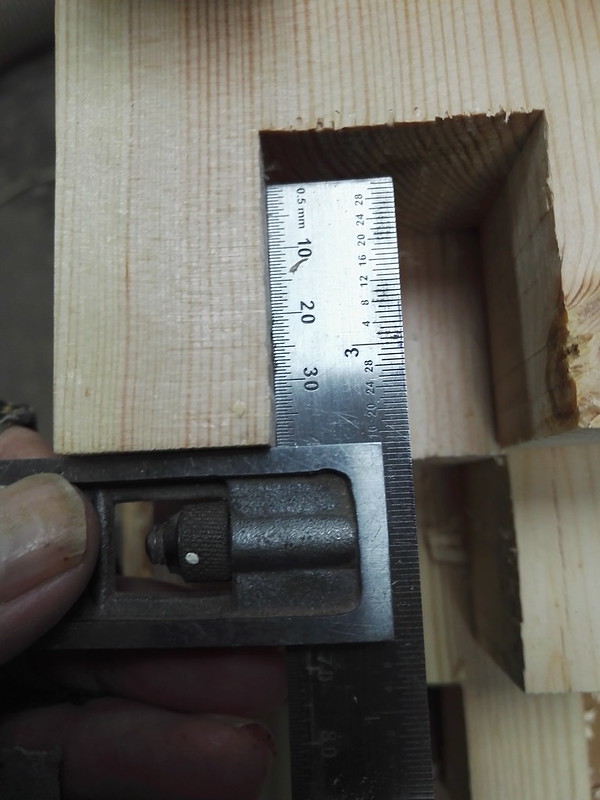


And mating tenon to mortice
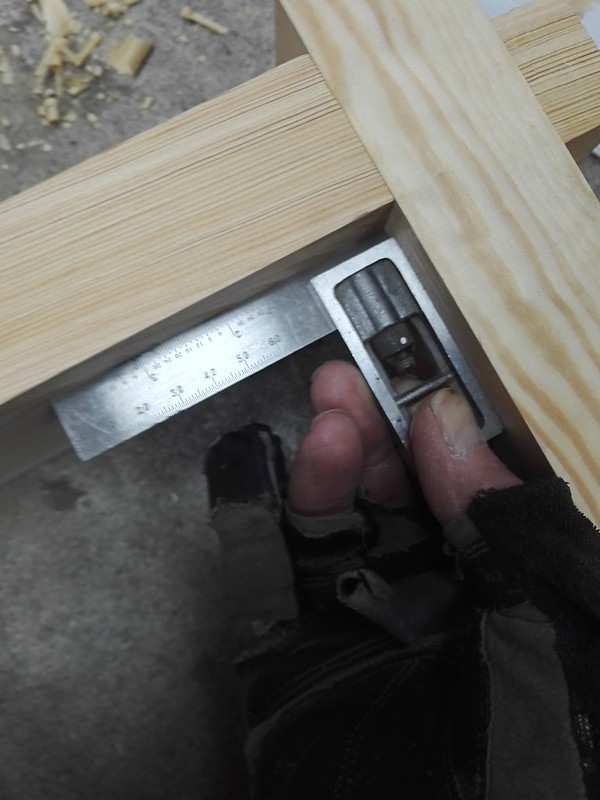


Lovely jubbly. Progress. Ready to be glued up.
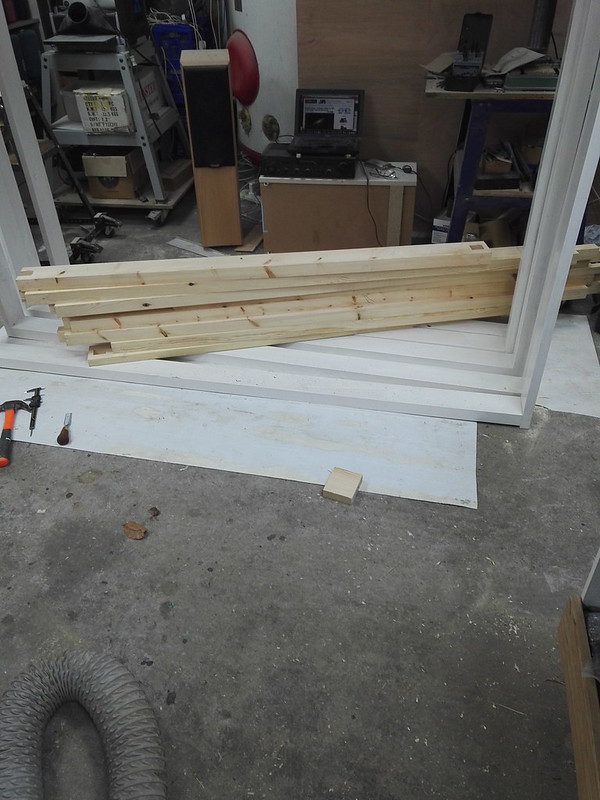
 
Bak to Glulams. While morticing and tenoning, I've been mithering about the glulams and can't decide as to the best approach.

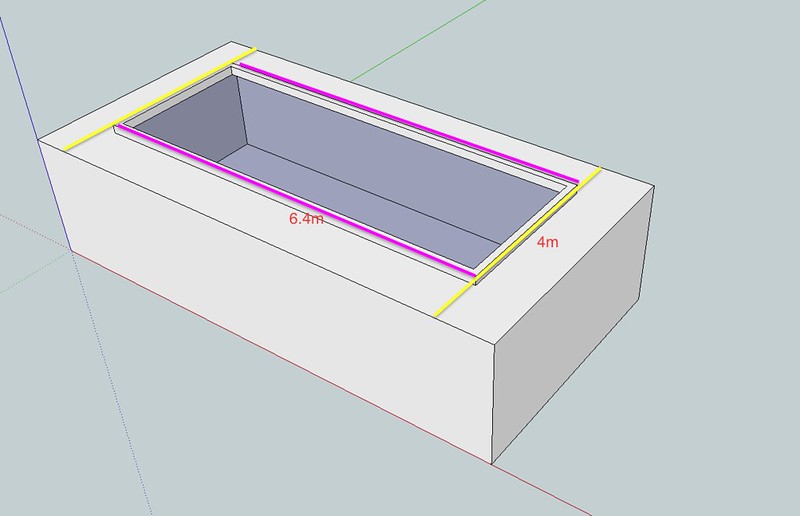
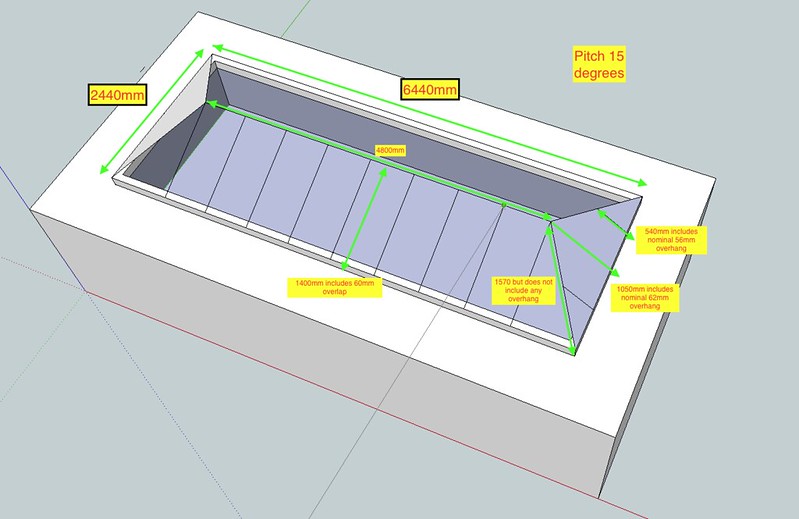
The design of the glass lantern is TBD. But it fits where the hole is. As I see it there are two approaches to supporting it. There is this one - glulam A (two) 8m long

glulam a.png

and this one - glulam B (four)

glulam b.png

Any thoughts ?
 
Roger, I'd be tempted to contact a gluelam supplier. I'm sure they will have seen similar requirements and have all the modelling software to work out the loadings and strength needed. They should be able to offer different topologies and trade-offs between them.
The beams will need to be stronger at the ends so there might be scope for some arty designs rather than constant cross-section beams.

They will of course need to know the dead load of the lantern and the dynamic loads and exposure factors as starting points.

Bob
 
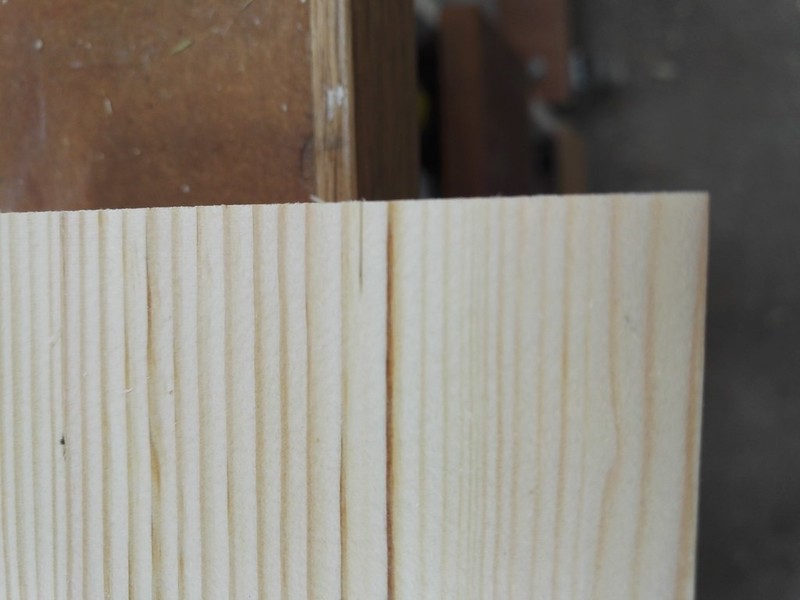
So, just taken the clamps off of the frame made with M&T's. Substantially more stable, less resistant to flexing along the diagonals and not a creak from glue lines cracking as there was with the Domino. I'm referring to the glue line on the end grain of the rail where the shoulders are. When I removed the clamps with the Domino's, definite creaks as the Domino's let the joint flex slightly.

So for this application, at least, M&Ts are the way to go. But I'm still going to use Domino's elsewhere.
 
will1983":2c7mycjf said:
.......
I use them a lot in my day job so I only buy Class 1 tapes (Single I marked somewhere on the first 300mm), these are accurate to about ±1.1mm/10meters (±0.11mm/m)

......
Will

Bought myself a Fisco tape. Brilliant :eusa-clap: :eusa-clap: thanks.
 
Been a bit quiet posting so thought I'd better give an update.

The two sets of frames (five each) for the two long 8m walls are done and have a good coat of linseed oil primer.


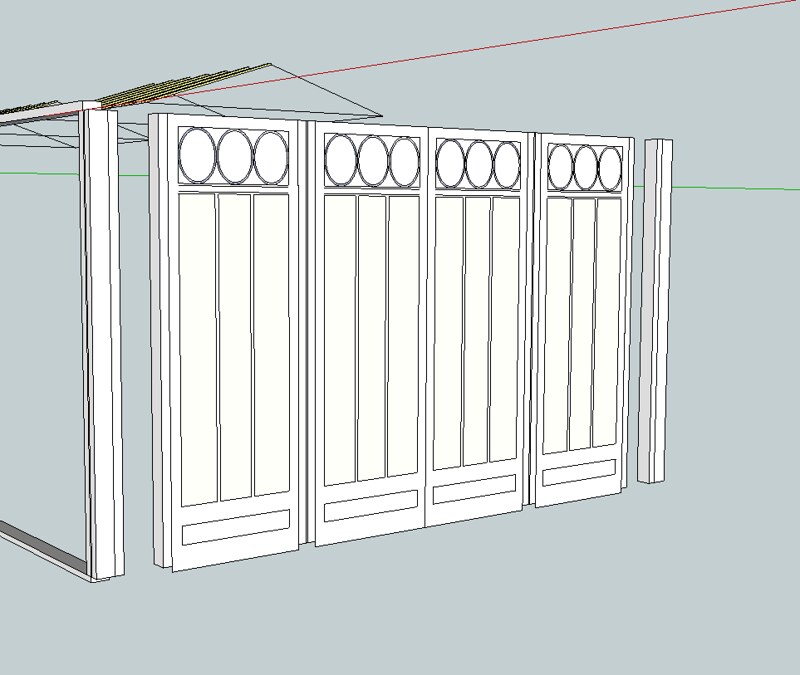
The end frames have had multiple redesigns as I vacillated between glulam direction. I also realised that I'd originally designed it as one piece which in hindsight was a bit dumb as it would not have been easily moveable from the workshop. So this is the final design showing the infill details - windows and doors - but not the frame...you need to imagine that !


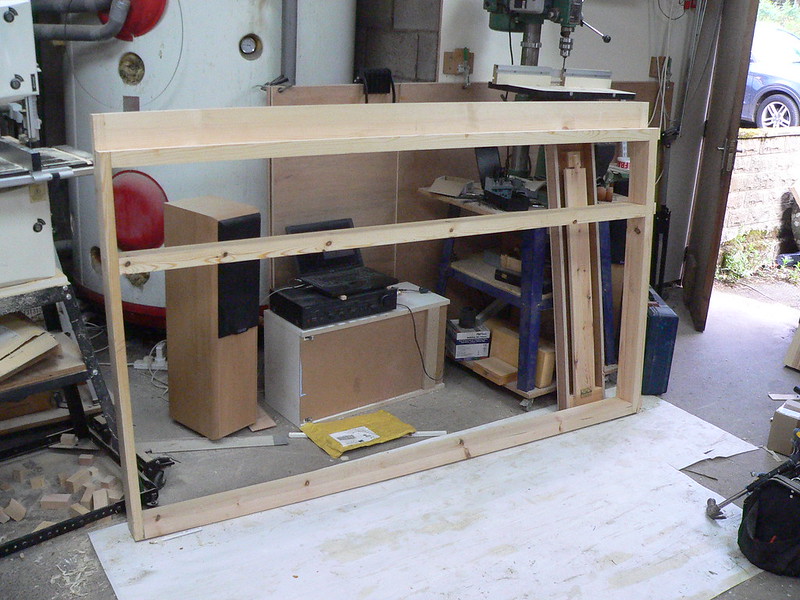
Oh, alright. Here's one of the outermost frames..


Little bit of more interesting joinery here as I needed a return to tie in to the front or rear walls.


And what about the glulams did I here you ask. Well.................I drew a blank with the structural engineer as you know who only really understood steel which is fair enough. One company started asking me about 'grades' and lots of other techie questions which were totally out of my depth. I'd sent a drawing to several companies with sizes and roof loading so I thought it would be plain-sailing. I started looking at tables myself but they all seemed to be for floor joists and so using lots of them. Then the tables started talking about shear and all sorts of other stuff that although I knew what the terms meant I hadn't a clue how to put them into practice !

I needed this


to support this


I was beginning to despair. Gut feel and looking a little bit at the tables plus some rumination told me that I could get away with glulams 45mm wide but my local company stocked 90 x 315mm which I kinda thought was definitely up there with the best Victorian over-engineering but beggars can't be choosers. And then .....

Out of the blue I got a phone call from a design engineer at a company that I'd contacted via their website some three weeks or more ago and forgotten all about. He asked me some more questions and then asked 'Would you like me to quote for JJ-ijoists to go round the flat part of the roof'.. Oooh...yes please :shock:

Next morning, completely detailed quote....the four glulams (45mm ones ...hah...I was right, see) plus all the hardware and JJ-ijoists and VAT and delivery for less than 1/3 the price of the four 90mm glulams. :text-bravo:

If anyone is interested in seeing how they make them

[youtube]LfuI4kiVy0A[/youtube]
 
Rats...I'd planned to glue-up the last sub-frame today but when I came to do it realised that this muppet had put the Dominos on the wrong face. So Domino's are glueing up to fill the 'oles and I'll finish it tomorrow.

Weather's not doing me any favours at the moment. But at least it gets me indoors working on laying the oak flooring.
 
A window of opportunity has opened up :)

no rain.png

Grab the opportunity while you can.

07.41 am

P1130299.JPG
 
09.20

cills cleaned up. Amazing how dirty they've got. Also discovered the downside of linseed oil paint (but may be my technique) is that it doesn't flow as well as water-based paints. So you end up with 'dirt magnets' aka brush strokes.

cills checked that they all outfall outwards and screwed down.

tools out, screws out (although not as many 5 x 80 as I'd hoped), timber supports - check, clamps - check

P1130300.JPG

We're good to go
 
Damn bloody weather.

Rain stopped play and a panic to get protection onto all the exposed tenons. :(

I got as far as being able to check the diagonals. 5mm difference which ain't bad, I reckon, over 8m x 4m
 
RogerS":spopd1jc said:
Damn bloody weather.

Rain stopped play and a panic to get protection onto all the exposed tenons. :(

I got as far as being able to check the diagonals. 5mm difference which ain't bad, I reckon, over 8m x 4m

Does that mean you got all 4 walls up Roger?
 
Andyp":2emanmpm said:
RogerS":2emanmpm said:
Damn bloody weather.

Rain stopped play and a panic to get protection onto all the exposed tenons. :(

I got as far as being able to check the diagonals. 5mm difference which ain't bad, I reckon, over 8m x 4m

Does that mean you got all 4 walls up Roger?

Afraid not. I got three up and had clamped together the fourth wall to ensure that the third wall was going to plan and in the right place.

Doesn't look too bad...got up on the step-up to check to see if the ends were in wind or not and didn't look too bad.

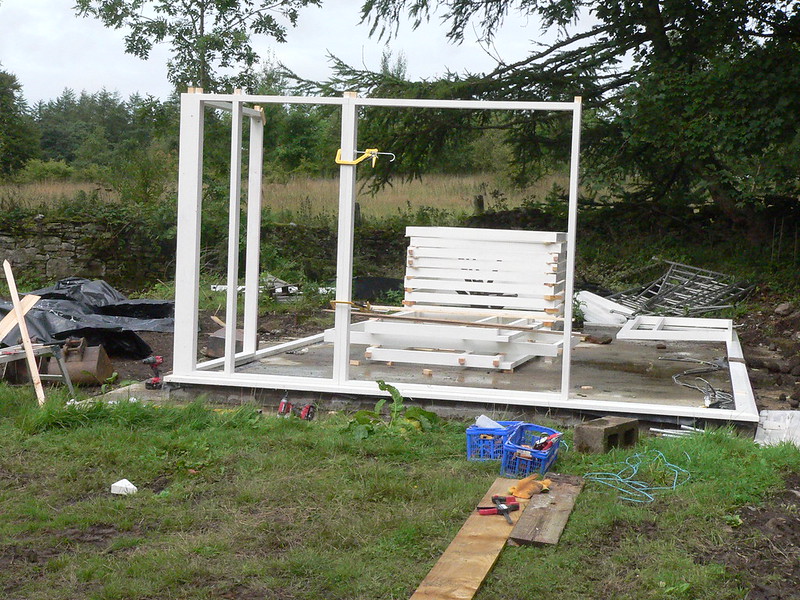
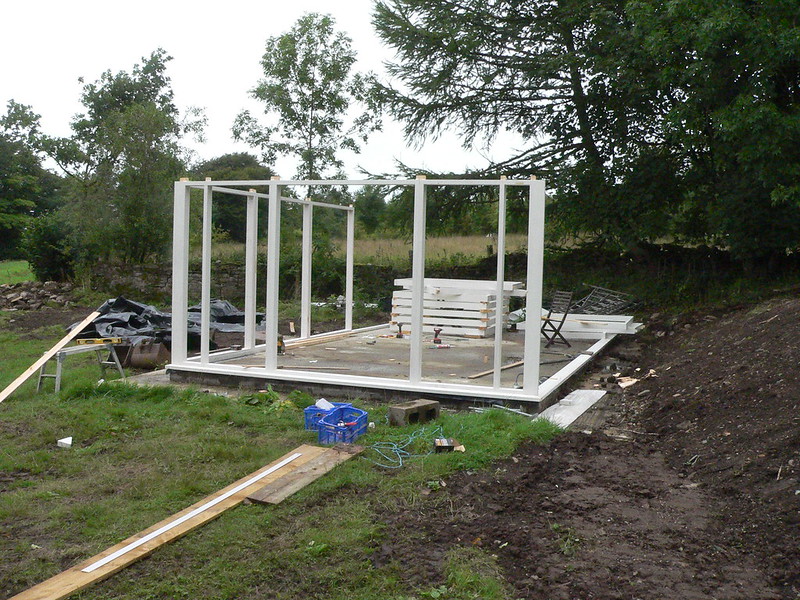
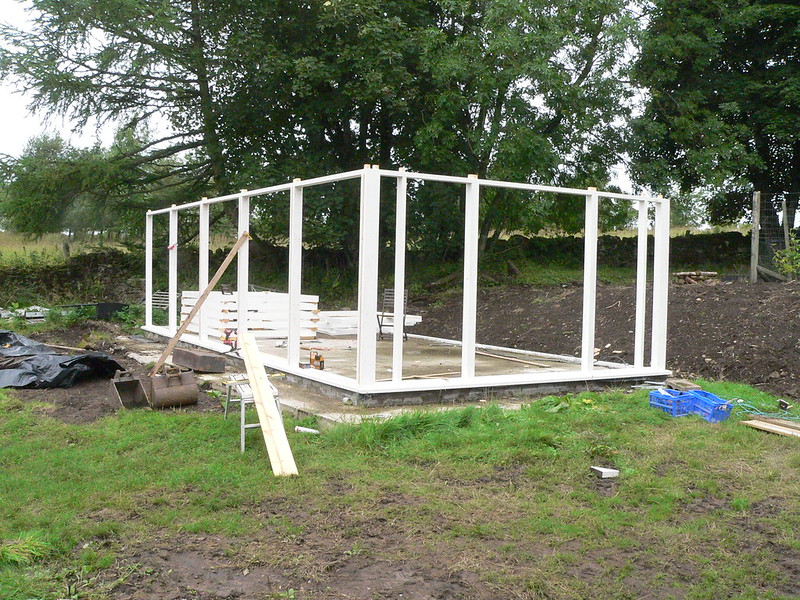
But....jeez...it's bloody huge !
 
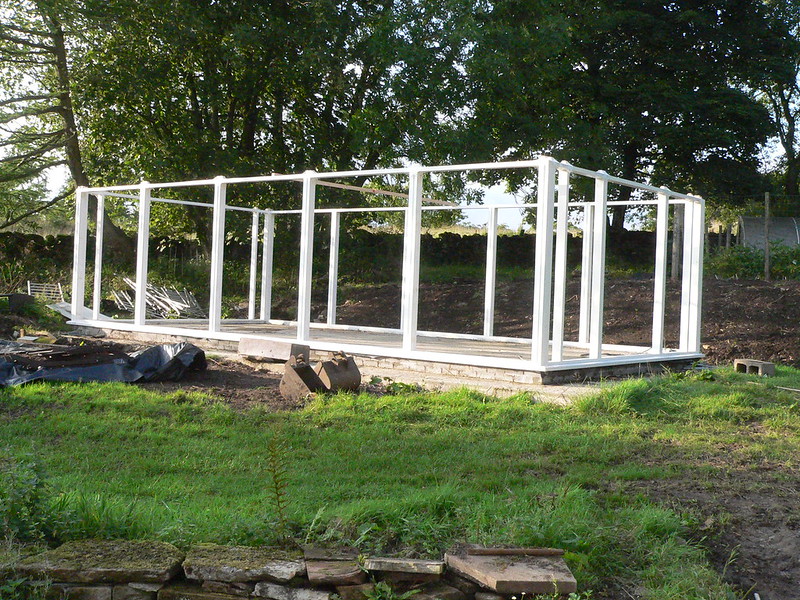
The Gods looked favourably on us and a window of opportunity let me get all the frames in place.


Rain again tomorrow so it will be Thursday before I can do anymore.
 
Back
Top