• Hi all and welcome to TheWoodHaven2 brought into the 21st Century, kicking and screaming! We all have Alasdair to thank for the vast bulk of the heavy lifting to get us here, no more so than me because he's taken away a huge burden of responsibility from my shoulders and brought us to this new shiny home, with all your previous content (hopefully) still intact! Please peruse and feed back. There is still plenty to do, like changing the colour scheme, adding the banner graphic, tweaking the odd setting here and there so I have added a new thread in the 'Technical Issues, Bugs and Feature Requests' forum for you to add any issues you find, any missing settings or just anything you'd like to see added/removed from the feature set that Xenforo offers. We will get to everything over the coming weeks so please be patient, but add anything at all to the thread I mention above and we promise to get to them over the next few days/weeks/months. In the meantime, please enjoy!

The Orangerie - duff glass-fibre-coating REPAIRED

I would definitely leave the ends taught but not tied down so the wind can rush through.

How about a few smaller cargo nets cable tied together along the edges if you can't get a large one...
 
Robert":hcnl1g19 said:
Any way to attach timber battens to the scaffold then batten over the tarp so it is sandwiched between battens? Don't need eyelets then and the result should be stronger.
Hi Roger
I’ve very successfully cable tied tile batten to scaffolding poles before and then done as Robert has said. Screw another batten on top with the tarp sandwiched in between, you’re then able to pull the tarp fairly taut and shouldn’t get to many puddles. If you search for scaffold debris netting you can get 3m x 50m quite cheaply and could put that over the top for extra security,
Harvey
 
:text-+1: for the OSB structure idea. We used it to replace the gable end of our ground floor after the wall was removed between our old and new kitchen extension. You should be able to pick up some 9mm OSB for around £12 a sheet, and with a bit of 3" x 2" framing it shouldn't cost too much. Batten a tarp over the top and tie the whole lot down and you should have something that'll last the winter.

You don't come across as a quitter Roger, and I don't think you're about to start now! Chin up. :D
 
The trouble with the OSB idea is twofold. The size of the structure for one..back of the envelope suggests 16 sheets alone needed for the smaller front wall, probably 24 or so for the back higher wall...that's £500 for starers .. then we have the two ends. And I'd struggle to get anything up there on the roof.
 
RogerS":1sr8zi9n said:
The trouble with the OSB idea is twofold. The size of the structure for one..back of the envelope suggests 16 sheets alone needed for the smaller front wall, probably 24 or so for the back higher wall...that's £500 for starers .. then we have the two ends. And I'd struggle to get anything up there on the roof.
Fair enoughsky. From what I can see, the main problem is along edges, which once broken free in a wind, will beat themselves to death. I quite understand the weight issue of osb too. How about a frame of 3*2 attached to the scaffolding to which you attach tarps with battens in the key load positions. There has to be a way!


Sent from my ONEPLUS A5010 using Tapatalk
 
That is a bloody crackingly good idea.

Sent from my SM-G930F using Tapatalk
 
In fact, while cooking tonights supper I had a :idea: moment and cancelled the heavy duty tarpaulin as I can use the existing tarpaulin with a batten sandwich. And you know what ? I'd forgotten that I'd used this technique about four years ago for a cover for LOML's plants to over-winter :eusa-doh:

Got a Travis delivery tomorrow and so will try and get them to stick some roofing battens on.
 
RogerS":qew1k6at said:
That is a bloody crackingly good idea.

Sent from my SM-G930F using Tapatalk
Glad to have been of service. [emoji847] Where do I send my fee note? [emoji6] Let us know how you get on.

Sent from my ONEPLUS A5010 using Tapatalk
 
I have a cunning plan

Sent from my SM-G930F using Tapatalk
 
Diverted onto more 'important' tasks, it was only yesterday that I could finalise Plan B (or is it Plan C, I've lost track).


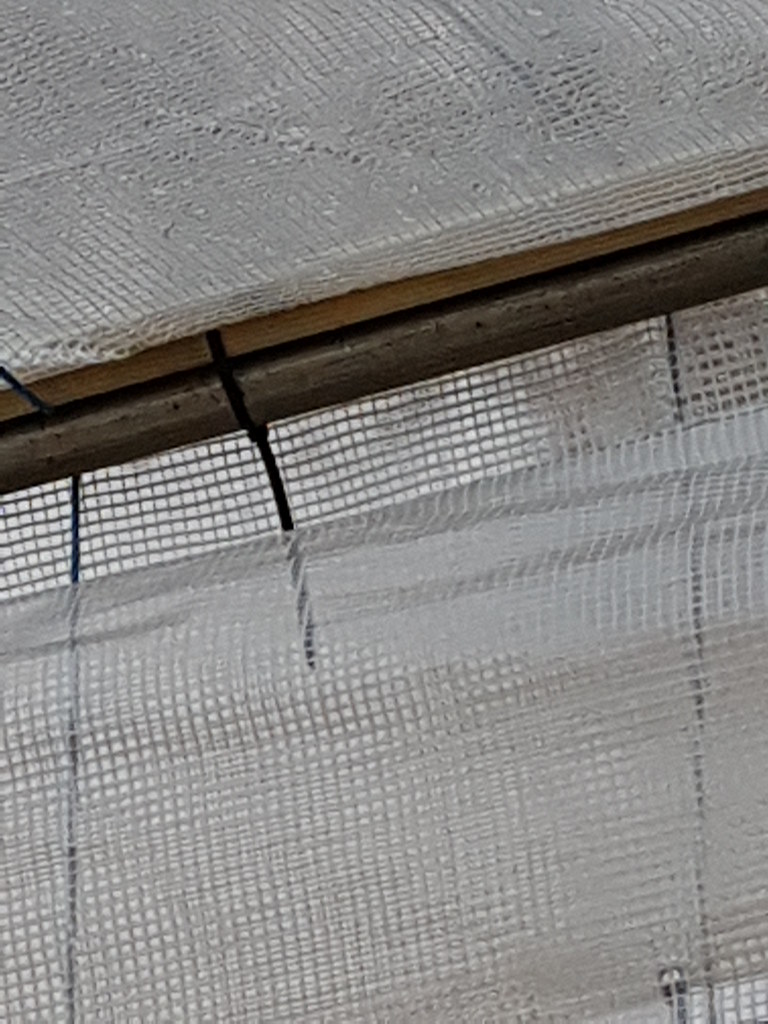
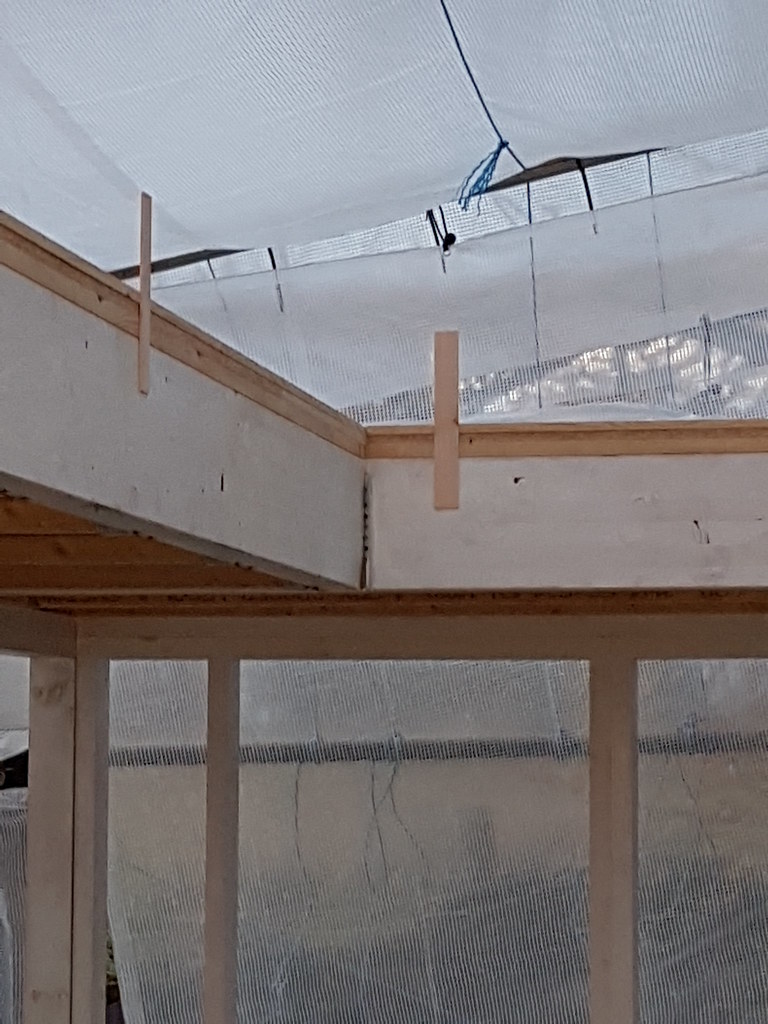
Based on an original idea by RogerM, tile battens fixed along the top of the scaffold tubes. Tarpaulin then sandwiched between those tile battens and more battens screwed through.


High winds tomorrow. Fingers crossed.
 
Delighted to report that Covering Plan Mk III has survived the strong winds over the weekend. Sandwiching all the way round the roof perimeter plus reinforcing cords overlaying the topside of the roof tarpaulin has worked. I also strung reinforcing cords round the walls as well to keep the tarpaulins there under control.

All OSB now down....but noticed some variation in thickness between boards which was surprising. Upstands starting to on then I can fibreglass. Only ......only I came across reference to UV being needed to cure the resin. Further research seemed to suggest 'it depends'. Does UV come through my plastic tarpaulin? Guess the only way to find out is to do a trial area.
 
I think it is a fair assumption that all products made of fibreglass are done inside a covered unit of some variety so I can't see how UV would be required for curing. Especially when you consider that most boats are made from FG and the vast majority of their surface area is hidden inside or against the face of a mould.

I know that epoxy is degraded by UV but this takes about 6months of intense exposure like that experienced in tropical areas. However this is easily prevented by painting the surface once the epoxy is cured. I'm fairly certain that you will be using a polyester resin which doesn't have the same issues though.

Watching with interest!
 
Glad that you have your Mojo back Roger :eusa-dance: I would be surprised if lack of UV will be a significant factor in the curing of fibreglass resin. I have only ever used it in a garage with no windows years ago when building a Mirror class dinghy and a "stitch and resin" plywood kayak, and in neither case was UV (or lack there of) an issue. I think of greater importance is accurate and thorough mixing of the resin and hardener and maintaining a reasonable temperature throughout the curing process.
 
It's all going a bit Ting-Tong :(

Particularly as I've never made a roof before, I decided that I should follow Mike's First Rule of Rooves

I absolutely insist on level and parallel plates,

And therein lies the rub. Just how level is level and how parallel is parallel.

And also how level does the top of the plates need to be ?

Because this is what I found and spent the best part of the day faffing about with little result.

First up, I went to try the laser level but it wasn't bright enough in daylight. So I waited for dusk, set it up and then glue-gunned some offcuts with the correct reference level marked on them and ready for the morning.


The result was that the far end was pretty much level with the other end but along the long sides, the level was out by up to 9mm. Being a bit of a perfectionist I set out to try and level them all up. Two hours later, I'd only managed one long side and it was then that I noticed that the top of the upstand..on which the birdsmouths will sit wasn't level. Again, not out by much...a few mm here and there but thinking ahead, the rafters will be visible and so I thought I would end up seeing the rafters not sitting down square. The reason for them not being level was that my plan to cut the long firring pieces down the long sides at an angle, sandwich the OSB on top and then fit the companion piece to the firring bit underneath to bring it back to level. Only it didn't. No idea but it threw the tops of the upstands out of whack.

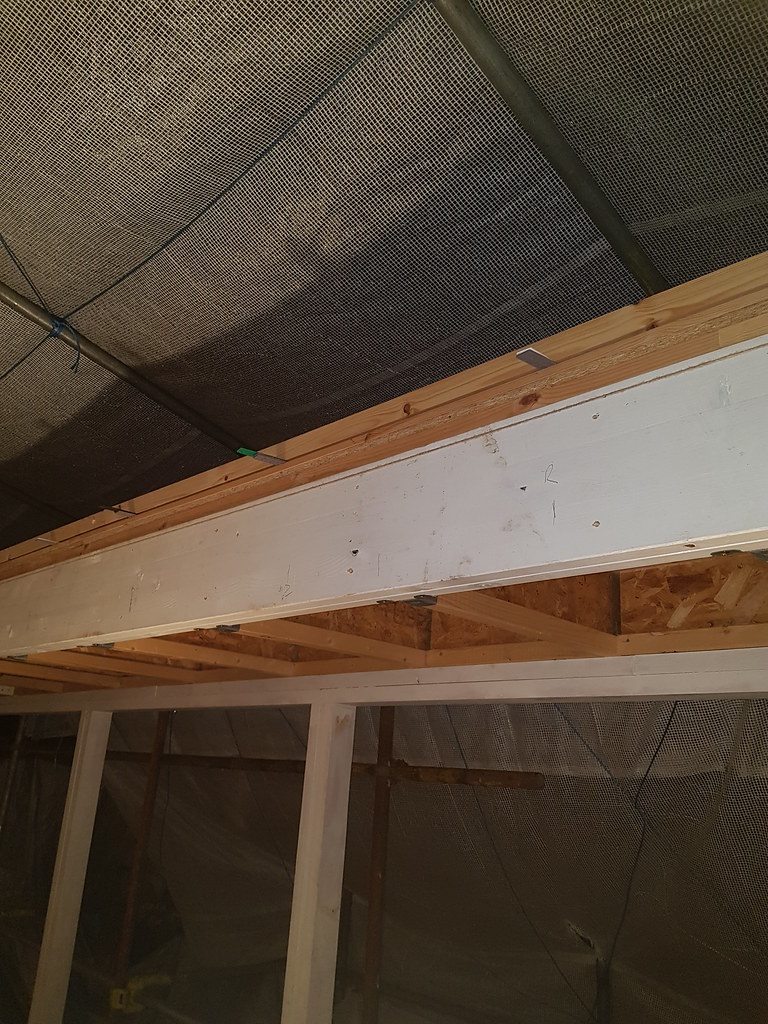
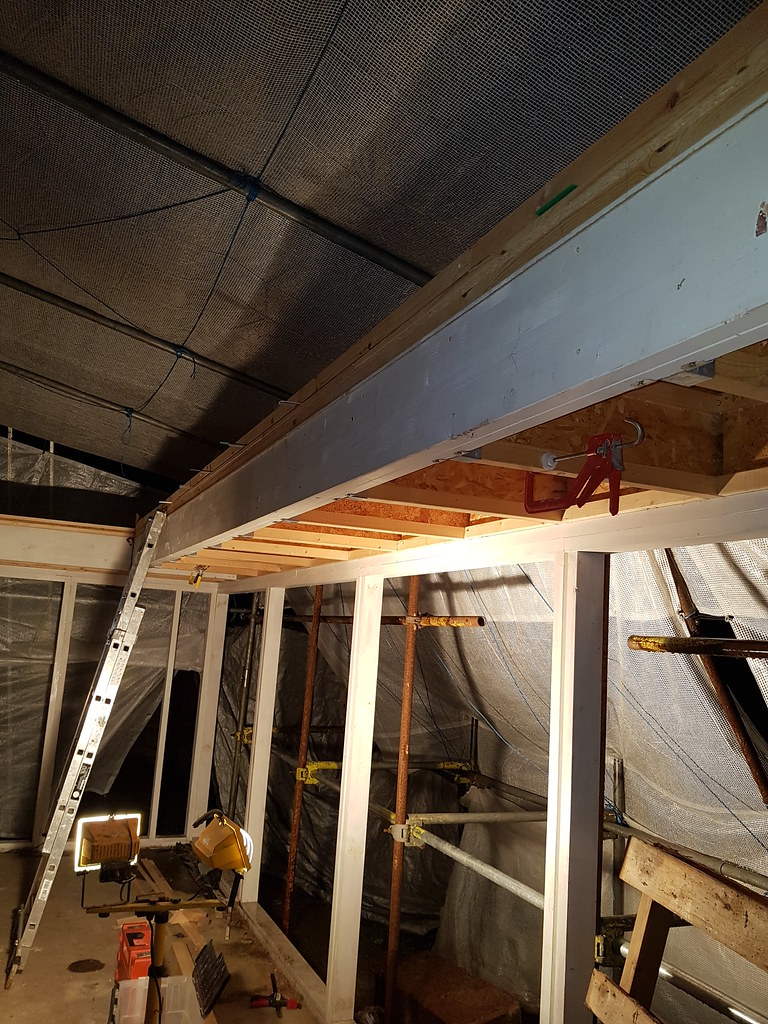
Digressing slightly I am still glad that I did do things this way as I realised that if on the underside of the joists I fixed a skin of 9mm ply then my roof has suddenly become a torsion box.

Anyway I faffed around for another couple of hours and finished one side. You can see the packers jutting out as, obviously they can't go all the way through to the outside otherwise I'd not be able to bring the tops back level.


I then started on the other long side and applying the second part of Mike's Law, soon realised that the two long glulams weren't parallel. This one bows in at the middle by 10mm.


So I'm in a bit of a quandary as not being an experienced roof maker, just wondered what grief I'll be setting up for myself if I don't offset the upstands to compensate for the bow.

Hope that all makes sense.
 
I can't see it mattering if the levels are a bit off - based on our orangery roof. Ours isn't perfect and there are puddles left after it rains but it doesn't matter. The roof is glass fibre so it is boat like and a bit of water sitting on it causes no harm and evaporates away when we get some sun.

As to the opening size I can't see that mattering too much either. If your lantern is anything like ours it has a large oversize flange/trim with drip edge that goes on first to become the precise sized base of the lantern components. The wood it is screwed down onto just has to fit underneath within the width of the section not exact size.

I watched ours go in but didn't do any of the work so some guesswork may be included in the above :)
 
I think that your lantern was possibly all aluminium, Robert ? Mine is a hybrid of wood rafters etc and aluminium capping.
 
Just summarise a bit for me Roger.

It seems that the problem is with the upstand for the lantern. Is that right? Some of the issue may because one of the joists supporting the lantern upstand is bowed. Again, am I following?

The reason for insisting that plates are parallel and level is that making every single pair of rafters in a pitched roof different from all the others is a mug's game. You don't have a pitched roof, so for the flat roof element you can simply adjust your firring pieces to compensate for the bowed joist, and so long as the roof slopes in the right direction (the real Rule 1), not be overly concerned about out of true plates. The upstand taking the lantern, though, is different.

I presume the lantern is being made separately on the ground, then lifted into place? If so, then I would suggest walking away from the wonky upstand now before it does you irreparable mental health damage (:) ), and dealing with the issue at the point at which you offer up the unglazed lantern for the first time.

It's important to understand that rooves aren't furniture. You don't make them with anything like the same precision, and even if you did, timber movement would soon undo your good work. Your lantern howeveris going to be like furniture: a decent piece of accurate joinery which will be on show, but the junction between the lantern and the upstand is A/ invisible, and B/ can be covered by decorative covering strips internally. This means that anything you do to level up underneath the lantern, even if it is just expanding foam or silicon sealer, won't be seen.
 
Just an aside. Sometimes the simple old-fashioned ways are best. Lasers are great, and have their place, but a long piece of straight aluminium section and a spirit level would certainly have been quicker and easier in this circumstance.
 
Many thanks for all the advice, Mike.

I've also been mulling this over and it seems to me that, as you say, I'm possibly losing a bit of perspective.

First off, the lantern will be made in place...same way that a pitched roof will be made and with a hip at each end.

It seems to me that there are three aspects to consider :

1) How level (or not) the top of the upstand is over its width. The width is 100mm and it tilts by a few mm across the width in some places. In retrospect I don't think that this is as much of a problem as I thought. Also in 'fixing' the tilt I'm using plastic spacers at one side of the upstand and screws to adjust the tilt back to level. I'd rather have the upstand sitting solidly on top of the roof platform.

2) How level (or not) the top of the upstand is down its length...some 6m plus. My conclusion is that a dip of 5-7mm is neither here nor there. The rafter will be pulled down tight on top of the upstand as it's screwed down. The fact that the ends of the rafters at the bottom are slightly out by a few mm is neither here nor there.

3) Lastly if the upstands are parallel to each other and I think that this is the most important bit to get right because I can make all the rafters the same length and the birdsmouth will look in the right place when viewed from inside the orangerie.

As Mike says, the fact that the upstand will have to overhang the glulam slightly on the inside of the well can be covered up with a 'feature' at a later date.

Does that make sense ?

Re a spirit level and length of aluminium...not sure where I'd get one 6.5m long TBH !
 
Does the other stuff make sense, Mike ? Am I now focussing on the right issue ?
 
You can certainly make that work, Roger. A well made lantern will pull itself straight and square, and you can deal with any gaps as they arise. Your lantern will have it's own cill plate, so I would simply have a box of wedges handy to true this up.

That's a big hole to be working over. You'll need a scaffold in the middle.
 
Mike G":2f0faej7 said:
...... Your lantern will have it's own cill plate, so I would simply have a box of wedges handy to true this up.
Ahh...I was proposing to make the upstand my cill plate

Mike G":2f0faej7 said:
That's a big hole to be working over. You'll need a scaffold in the middle.

I've got a long Youngsmans staging board and two towers. I'll be re-reading how you did yours though !
 
Upstands all finished. Snots in the OSB removed, projecting spacers tidied up, excess overlap of the OSB in some areas removed and corners rounded over with a small router bit.

I was a bit concerned about the 90 degree corner between upstand and roof as I'd read somewhere about fibreglass not sticking well into corners. I'd bought some mouldings from Wickes but in hindsight they add little - in fact IMO make things worse - so I will be taping the corners between roof and upstand and fibreglassing over. I used resin before in a box I made up for soaking crinkly veneers and that's stood the test of time. I'm using white roofing finish and so that should help reflect any heat and so minimise movement. That's the theory at least.

There will be no drip trims around the perimeter because it's not that kind of roof ie no guttering. If you recall in an earlier post, and in another thread, I'm making a moulded pediment (?? if that's the right word) that will project out at the top giving me an inbuilt gutter which will be resined to waterproof.

So now we wait for (a) no rain as the tarpaulin drips and (b) warm enough for the resin to cure. I mentioned to LOML that I was fibreglassing the roof and she went off a bit on one saying that it would make it too hot for the plants ! Bless :D
 
Hello,

Looks like your heading in the right direction :-)

I had to fibreglass two bay windows in mid december a few years back. It will cure in the cold just much more slowly than in warm weather. If your a glassing in the cold I'd get a big storage heater/blower to help you along with the fibreglass curing quickly.

Once it starts to go off you will be fine but extra heat helps your sanity as its like watching paint dry waiting for it to cure in the cold weather as the darkness creeps in....
 
Hi bb...many thanks for the heater tip. Unfortunately I doubt I can use it here since I am outside ...possibly an infra-red heater might be a better option...we shall see.

Mixed up 500ml as a test this morning. Opted for the highest catalyst ratio as it was just about 7 degrees surface temperature and decided to apply tape to the joins as a test. Initially all seemed to go well but then I noticed that the remaining resin/catalyst mix in the pot was starting to turn jelly-like so waiting for a callback from EC Fibreglass Supplies technical for advice.
 
As I suspected, just part of the hardening process. Very tricky getting the mix right apparently as UV light can kick it off hardening even if it's cold. Also even though I only had 500g in the bucket, it is an exothermic reaction and so once it kicks off, the heat generated accelerates the process and explains why spreading a thin coat out on the roof will take longer to cure....not much heat generated and the little there is is soon lost.

Given the leakiness of the tarpaulin though I've decided to apply a neat coat of resin onto the OSB without fussing with the fibreglass matting which means that drips can be very quickly and easily dried up.
 
They painted our OSB roof deck (and let it dry) before the glass fibre went on.

No idea if it was anything special. looked like grey floor paint.
 
All been a bit hectic here over the last week. Couple of days down South last week to attend my mothers' funeral then back into the saddle. But looking back at the thread, I see that it was only a week ago since the last post. It seems like a month.

Watching all the online videos, the one thing that I've taken away is that they are all on rooves that are large enough for you to do one row of fibreglass at a time by walking on the part of the roof that has yet to be fibreglassed. You're also able to stand up straight! They also feature drip trims et al. But I have none of that.

For starters, I only have this crawl way down one side.
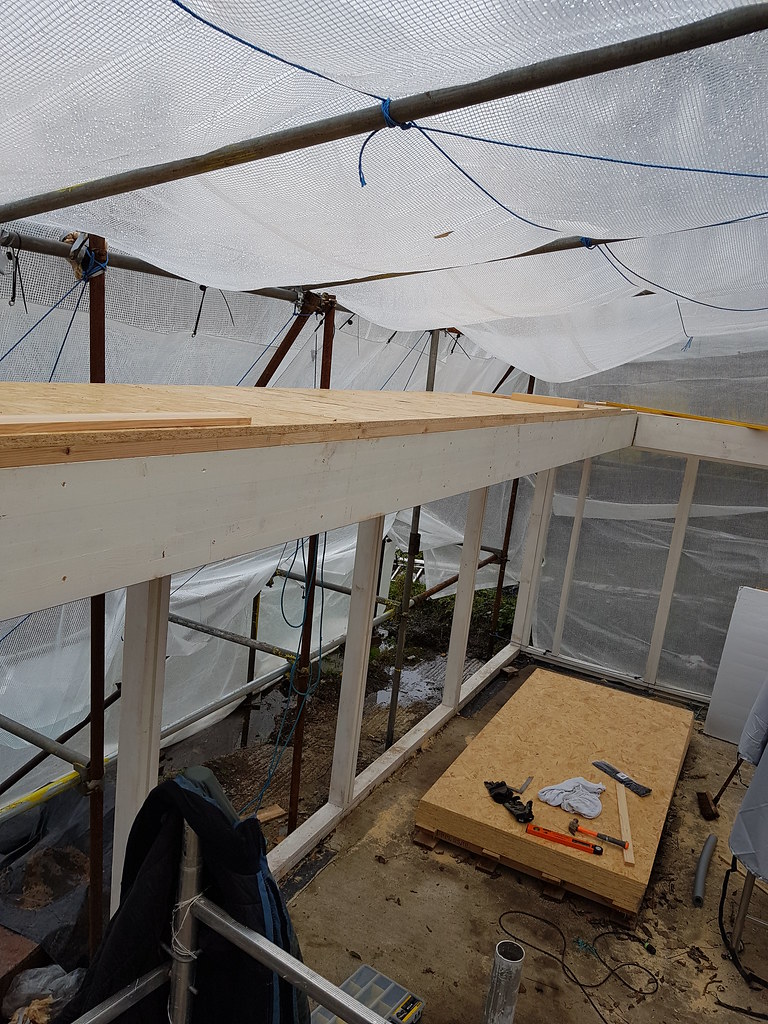


So what have I learned. For the benefit of others trying to do the same cockamamey approach, these are the lessons learned.

1) Buy yourself a couple of boxes of nitrile gloves. One size that you normally use (I use Large) and the other, the next size up. Apply a liberal coating of hand cream or body lotion on your hands and forearms.

Double glove using the normal size then over the top of that, the larger glove because trust me you will find that that outer glove will get ripped by getting stuck to things with fibreglass resin. By having a second pair, you can replace the top one as it gets ripped and without getting much fibreglass on yourself! Hence the body lotion application. The double glove also means that you can peel it off with all the sticky fibreglass resin on it, then go and do other things like mixing up another batch of resin etc. Trust me, you won't regret it.

Now go and buy yourself another box of each size as you will need them.

2) You will end up getting the basic unmixed resin on everything. It goes with the territory. I seem to get the stuff everywhere! Even on my computer keyboard and desk top. You accidentally lean on a spilled drop, it goes into your sweater/whatever and before you know it, it's got transferred to something else. Then from there to somewhere else. I've got resin on resin on resin :lol:

3) Wear your oldest clothes. I have little WIP to show you because if I told you that my jeans can stand upright by themselves by virtue of cured resin, you'll understand why.

On to battle ....

So I have to attack it bit by bit working off a ladder in the well or the Youngman staging platform. I taped up and fibreglassed all the joints in the OSB and also added the strengthening strips as suggested by Will. I also put tape and fibreglass resin into the corner between upstand and OSB. That was difficult as the tape kept wanting to pop out of the 90 degree internal angle. Try as I might, in some areas it just refused to go into the corner and stay there, no matter how much resin I put on. Tried stippling it in with a brush to little avail.
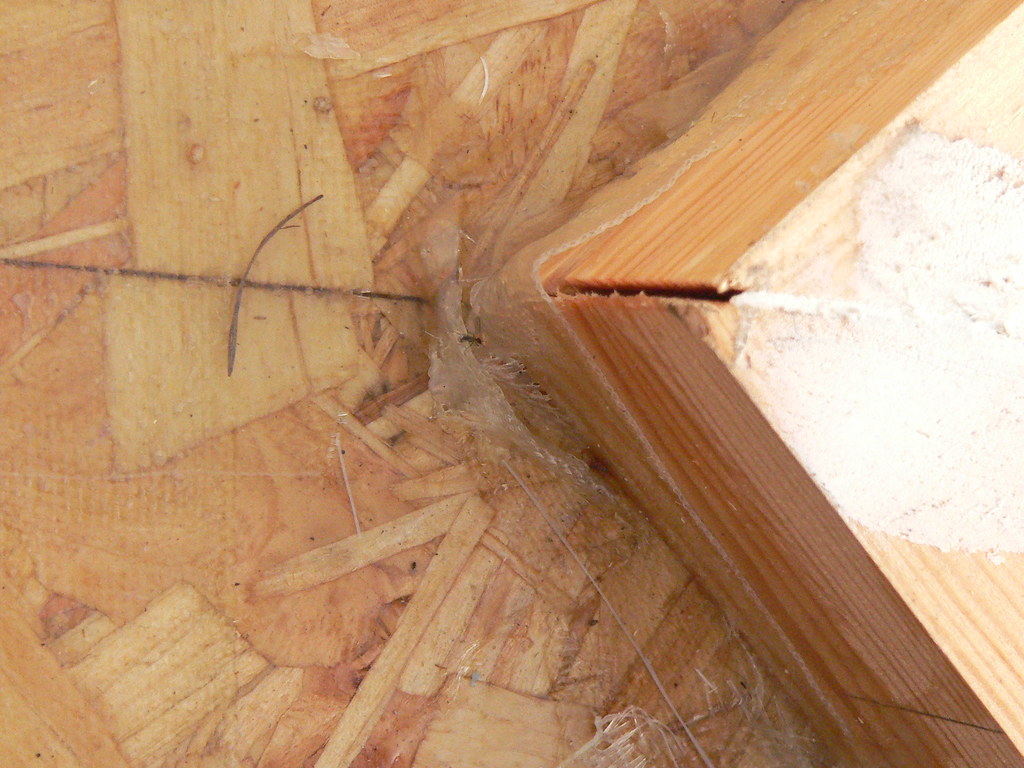


I soon came to the conclusion to not fuss too much, let it go off and then have a blitz with the sander to knock it back. Quantity-wise, I found that 500 gm of resin was enough to work with at a time and gave me time to do some tapework before it started to go off.

When I started, I'd bought a lot of roller buckets and I'd mix 500gm in one bucket, then when that was finished start up a new bucket and so on. The next day, I'd pull out hardened resin from however many buckets I'd been using. After several days doing this I came to the conclusion that that was pointless and that I could simply mix more resin in the same bucket. The resin at the bottom would continue curing but the new stuff would be at a different stage of hardening and unaffected by the stuff at the bottom. And so it turned out.

Mixing I used a set of digital scales purloined from the kitchen. They are not going back ! I used 20gm of hardener to 500gm of resin. That gave me a 4% mix which I thought should be OK for the low temperatures. Wrong....after several days, some areas are still tacky to the touch.

After faffing about with all this reinforcing tape over far too many days (well, lots of distractions here and there) finally came to laying the main roof sections. My Plan A was to cut the CSM (chopped strand matting) wide enough to go round over the rounded outer edge of the roof and also a little way up the upstand (belt and braces). Oh man, that was such a mistake. Same old problems getting it to stick in the upstand corner. Same problem trying to get it to stay stuck over the rounded outer edge. Meanwhile that resin is starting to go off and I've only done 1 sq m !

So Plan B....cut strips of CSM and resin them down the rounded outer edge. Forget the corners as they are fiddly and best left to another day. Forget going up the upstand. Just KISS. Also decided that the advice from the supplier was just plain wrong and that Winter hardener was required as some of the earlier areas were still tacky to the touch.

Even so, I still had some truculent areas that refused to behave
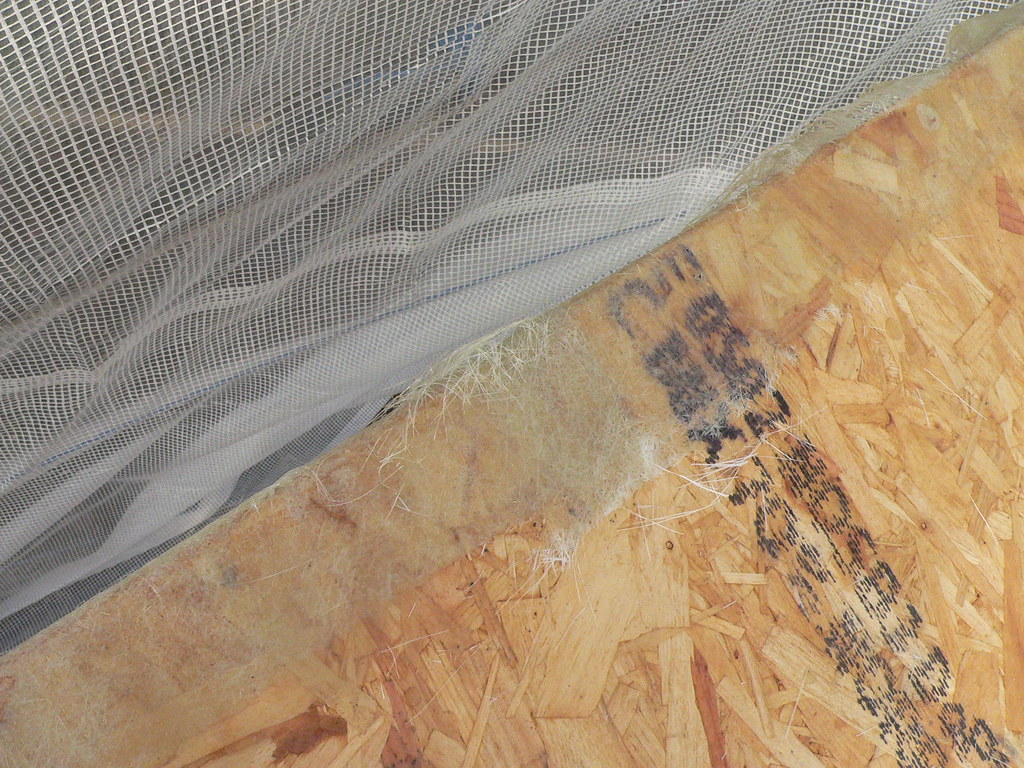


and a bit of a disaster area where the tarpaulin must have blown against it overnight and pulled away the CSM
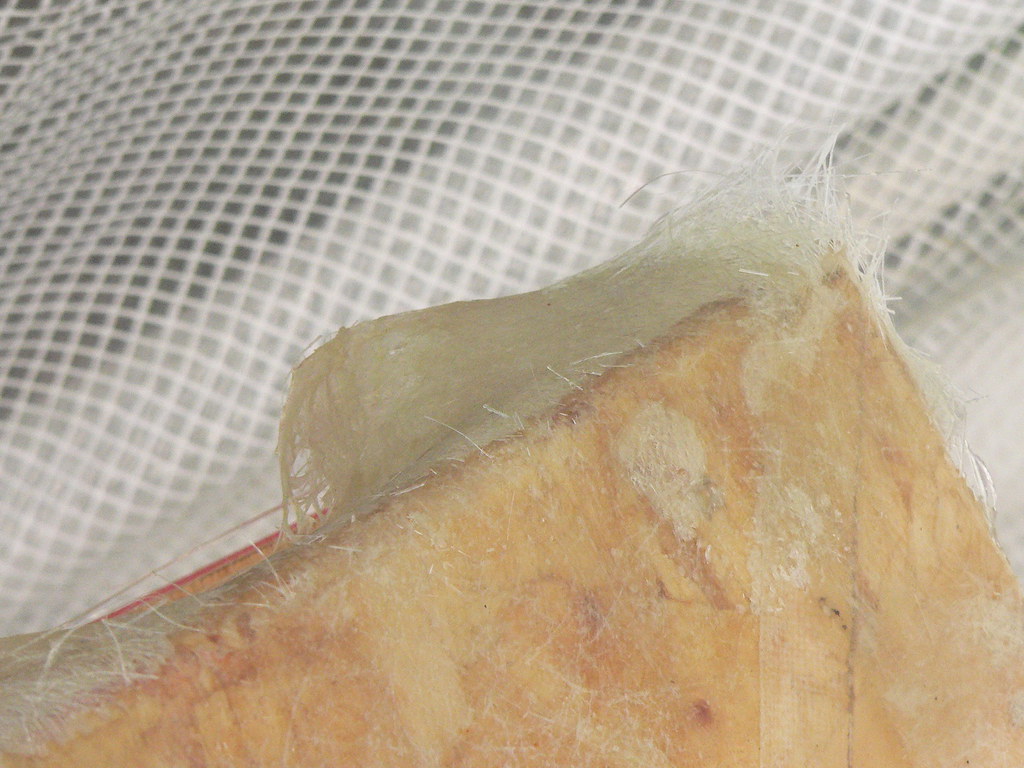


But it's not all bad..most is pretty tidy like this.
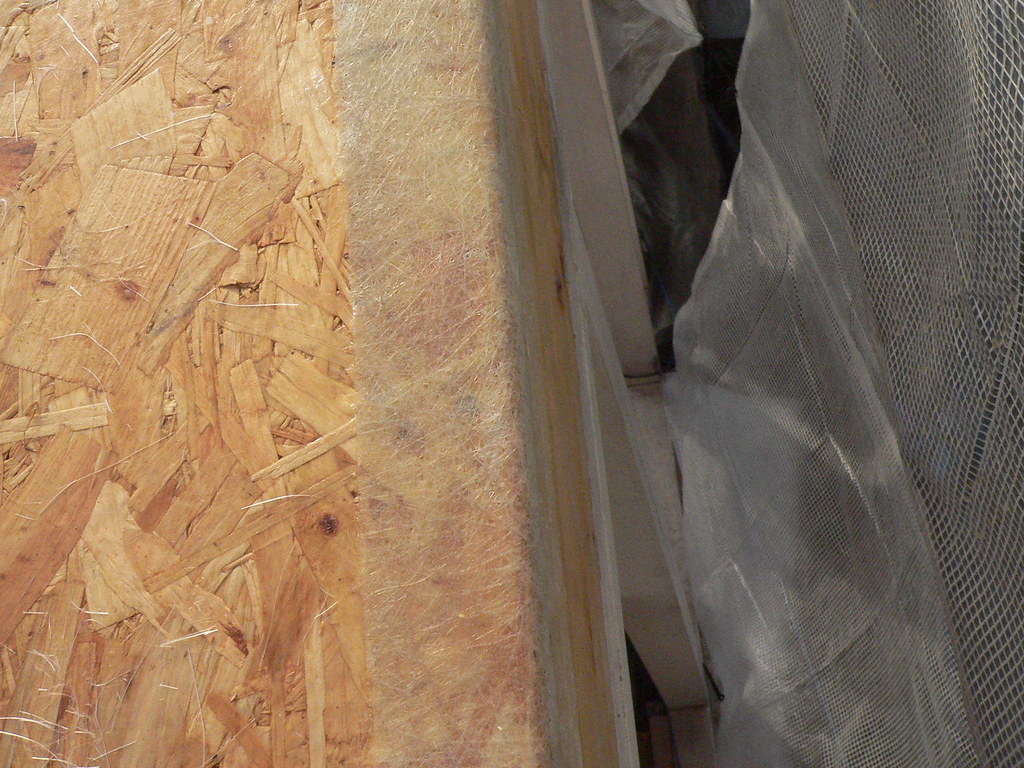


OK..on the last laps now. Cut the CSM to just be enough between upstand and an inch in from the outer edge. A nice flat piece to fibreglass resin down. Just like a normal roof ! Winter hardener was just the job. Found out that a 2kg mix was enough to make good progress, then away to mix more and so on. Ideally I'd have a mate coming along behind me with the consolidating roller or mixing up another batch of resin.

Mmmm...that consolidating roller...I'm not too sure on its efficacy or maybe I'm just not doing it properly as some areas seem a little 'light'.
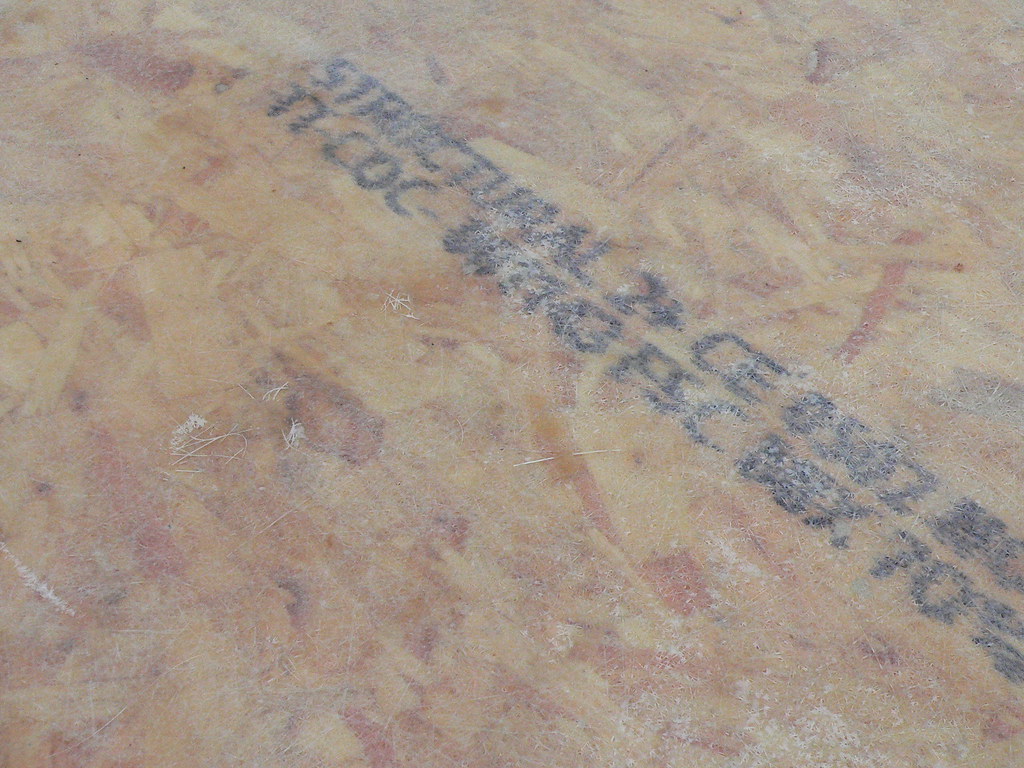


And I think I can see some small holes ...not enough resin perhaps? Not too fussed as there is resin underneath but I will probably put another coat of resin over the lot before I do the top coat.

But that's for another day as I've run out of resin.

Alright why didn't I go for EDPM ? Simple. It's grey. I wanted a white finish to match the rest.

Why didn't I go down the sensible route and use drip trims ? Again, they are grey plus they cost a bomb.

 
Back
Top